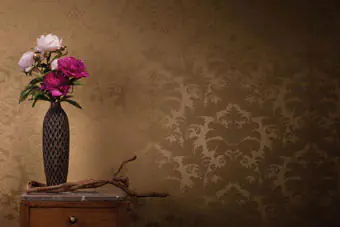
Non-woven wallpaper has recently become a popular type of decoration for walls and ceilings. Non-woven wallpaper is a non-woven fabric made of cellulose fibers. Their composition is close to paper, which is why they are sometimes called “improved paper”. Most often, non-woven wallpaper is used as a base for painting.
The advantages of non-woven wallpaper include the ease of gluing: the glue is not applied to the wallpaper itself, but only to the wall; the material does not bubble, does not deform and does not shrink; fire resistance compared to paper counterparts; breathability, hypoallergenic and environmentally friendly. Non-woven wallpaper is durable, can reinforce small cracks and even contributes to sound insulation to some extent. This is a good option for renovations in a new building. Non-woven wallpaper does not stretch and practically does not burst when the house shrinks.
Non-woven wallpaper also has its drawbacks: the top textured layer of wallpaper is susceptible to mechanical damage, which makes this material not the best choice for a nursery or if you have pets; Dust accumulates on the wallpaper, so they must be regularly vacuumed and wiped with a damp cloth; quite thin, do not smooth out defects in walls and plaster; in an “independent” form, without subsequent painting, they do not look very good; relatively high price. The disadvantages of this wallpaper appear when a layer of vinyl is applied to the non-woven base, and although the non-woven material in this case becomes much stronger, it loses its environmental advantages. Most often, this option is used for painting.
Let's look at several problems that arise when gluing non-woven wallpaper.
Removing old non-woven wallpaper from the wall. Today, few people stick new wallpaper over old ones, because... With this option, it is not possible to achieve high-quality adhesion of the new wallpaper to the old ones (if non-woven wallpaper was pasted before) and to eliminate even minor defects in the walls.
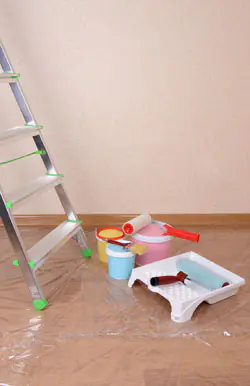
If done incorrectly, the process of cleaning walls can be labor-intensive and take a long time. How to simplify the process?
First of all, it is necessary to take into account that the top layer of wallpaper is easily separated from the thin bottom layer, which is suitable for subsequent wallpapering. If you are not planning to repair the walls, and the wallpaper is well glued to the wall, you can limit yourself to removing only the top layer. If the bottom layer is partially removed from the walls, it is better to remove it completely, because... otherwise, unevenness may appear through the pasted wallpaper. However, experts recommend removing non-woven wallpaper completely, because... This is often the only way to achieve high-quality new wallpaper. If you are satisfied with removing only the top layer, tear the canvas off the wall along its entire width from top to bottom.
To achieve complete cleaning of the walls, before removing non-woven wallpaper, you need to make through cuts along the entire length or width with a knife and moisten the surface with warm water using a paint roller or sprayer. The best option would be to use a deep penetration primer rather than water.
After the liquid has sufficiently soaked the wallpaper, pick it up with a metal spatula at the cut site and separate it from the wall.
If somewhere you cannot immediately remove part of the canvas, wet it several more times, allowing it to soak well, then scrape off the remaining wallpaper from the wall with a metal spatula.
Before removing non-woven wallpaper, find out what the wall on which it is pasted is made of, because when removing wallpaper from drywall or a putty surface, you cannot use water, because. it can soak not only the wallpaper, but also the surface of the wall. In such a case, only a primer or a special liquid designed for removing wallpaper will do.
Peeling off wallpaper. It happens that as the wallpaper dries, it begins to move away from the walls at the joints or at the top of the walls. You can also encounter this when painting previously pasted non-woven wallpaper. This in no way indicates the low quality of wallpaper from a particular manufacturer or the quality of non-woven wallpaper in general.
Non-woven wallpaper may peel off due to non-compliance with sticker recommendations. To obtain a high-quality result, it is necessary to fulfill a whole list of manufacturer’s requirements.
The reason for wallpaper peeling may be insufficient preparation of the wall surface. Before pasting, it is necessary not only to clean the walls of old wallpaper, but also to eliminate all defects, dips, and level the walls. Even small pits will contribute to the wallpaper peeling off at its location. It is necessary to remove old plaster that has poor adhesion; often it cannot be strengthened even with a primer, and when it crumbles, it causes the wallpaper to peel off.
Before starting work, carefully study the recommendations of the wallpaper manufacturer, the list of materials that must be used when working with this type of wallpaper (glue, primer, etc.). Otherwise, no one will guarantee that the wallpaper will last long.
Another reason for wallpaper coming off is non-compliance with recommendations for gluing and subsequent drying of wallpaper. On the packaging, the manufacturer always indicates the method of applying the glue: for some wallpapers it needs to be applied to the wallpaper itself, for others - on the wall, for others - both on the wall and on the canvas. Failure to follow these recommendations may result in excessive wetting and stretching of the wallpaper. When dry, the canvas will begin to shrink and the wallpaper will peel off at the joints.
It is also important to take into account recommendations for joining wallpaper. Wallpaper that needs to be glued end-to-end cannot be glued overlapping.
After gluing, it is important to follow a number of measures until the wallpaper dries completely. You cannot resort to forced drying, this will lead to the wallpaper peeling off in different places; for the same reason, drafts should not be allowed in the room.
If subsequent painting is planned, it is necessary to allow the wallpaper to dry completely; this may take up to several days, depending on the conditions in the room.
If the wallpaper has peeled off at the joints, solving the problem is easy. You need to take a wallpaper roller, a narrow spatula and a narrow brush, and a little wallpaper glue. By bending the canvas in the loose places, we coat the wall with glue and roll these places with a seam roller or press with a cloth.
If this does not help, and the wallpaper comes off again after drying, dilute the wallpaper glue with PVA glue in a 1:1 ratio. Apply it to areas where the wallpaper is peeling off with special care, because... PVA cannot be washed off after drying.
Bubbles on non-woven wallpaper. Sometimes, contrary to the assurances of manufacturers, after the glue dries, air bubbles form on the surface of the wall under the wallpaper.
The reason may be that the air was not completely expelled from under the canvas when gluing non-woven wallpaper. When gluing the canvas, you need to carefully smooth it with a special roller, expelling all the accumulated air. If bubbles are detected during gluing, the air from them is driven to the edge of the canvas. Instead of a roller, you can use a piece of clean cloth, carefully straightening the wallpaper with it.
Quite often, after wallpapering, bubbles become visible on the surface. There are many reasons for this, including primarily air accumulation under the wallpaper or an excessive amount of glue on the wall. We will learn further about how to remove the air bubble from under the wallpaper.
Table of contents:
Wallpaper bubbles - causes and consequences of their appearance
The main reason for the appearance of bubbles on the surface of the walls after wallpapering is non-compliance with the technological aspects of installing this finishing material. Before you begin wallpapering, carefully read the instructions from the manufacturer, since wallpapers of different compositions have individual installation features.
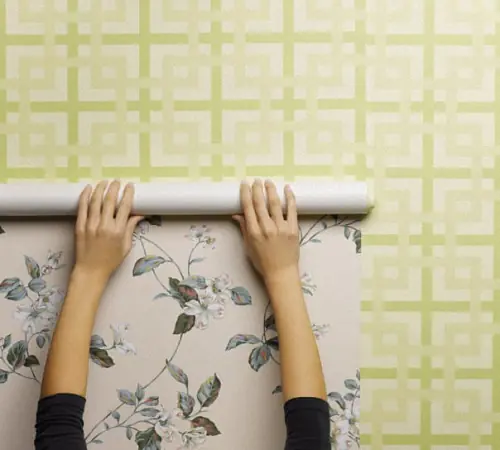
For example, when gluing paper wallpaper, you need to apply glue to the canvas, while non-woven wallpaper requires applying glue to the wall. In addition, the wall must be carefully prepared for work. There should be no mold or mildew or old paint on it. It is preferable to glue wallpaper to plastered, putty or plasterboard walls.
Before starting work, treat the wall surface with a deep penetration primer.
Also, quite often the cause of the appearance of bubbles is a violation of the technological process of wallpaper gluing. To avoid this, follow these tips:
- When applying glue to a wall or wallpaper, try to spread it evenly over the surface, be sure to wait the time specified in the manufacturer’s instructions, only after that glue the canvas;
- try to level the wallpaper from top to bottom, from the central part to the sides;
- squeeze onto the wallpaper with such effort as to force out excess glue from under it, but do not overdo it so as not to stretch or deform the wallpaper;
- in the work process, use working tools in the form of rollers, wallpaper spatulas or brushes.
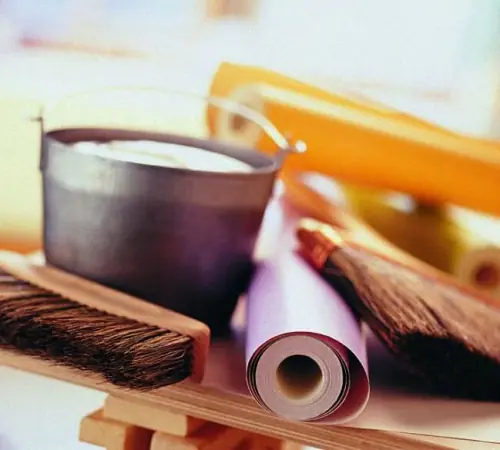
Pay special attention to the choice of wallpaper glue. It should be of high quality and good grip.
There is a huge amount of wallpaper on paper, vinyl, non-woven, textured, plain base. The process of gluing each type of wallpaper is individual and is also determined by the individual characteristics of the room in which the work is performed.
The main enemy of freshly pasted wallpaper is draft. Even with proper implementation of the wallpaper installation process, the presence of drafts will negatively affect their further operation. After gluing the wallpaper, you need to wait about 48 hours before starting to use the room and performing further finishing work, during which time the wallpaper glue will be able to dry well.
The appearance of bubbles on the wallpaper leads to such negative consequences as:
- there are reasons for the wall to be covered with mold or mildew, which negatively affects the health of people staying in the room;
- reproduction of various kinds of insects under the wallpaper;
- negative well-being of people living in the house and the aesthetically unattractive appearance of the walls.
Therefore, in order to avoid disappointment after repairs, we recommend removing bubbles as soon as they appear.
How to remove bubbles from wallpaper after drying
If small bubbles appear on the wallpaper after it has dried, then to remove them you must use the recommendations below. However, please note that if the number of bubbles is large, then in this case it is necessary to remove the coating and re-glue it.
If bubbles appear on the surface of a wall covered with vinyl-based wallpaper, then you need to use a spatula or brush to remove them. With their help, pressing on the canvas, the air is brought out.
If bubbles appear after the wallpaper has dried, it is more difficult to get rid of them. Before removing bubbles from wallpaper after gluing, determine the cause of the bubbles. If they were formed due to the accumulation of air under the wallpaper, then it is enough to take a small needle and pierce this area. Next, using a spatula, the surface is leveled and stretched.
Another way to remove bubbles from the wall is to use a syringe, the needle of which is used to inject glue under the wallpaper. It is this composition that ensures that the wallpaper adheres tightly to the wall, eliminating bubbles. To remove glue residue from the walls, use a damp sponge.
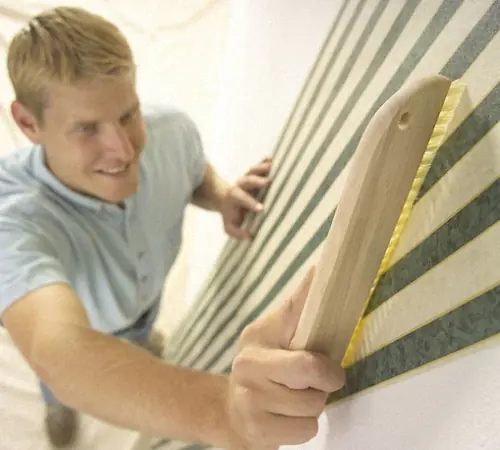
Some bubbles, quite impressive in size, are cut in the longitudinal or transverse direction. For these purposes, a stationery knife is used, wallpaper glue is applied under the canvas and they are fixed on the wall in the desired position.
Please note that this method is not suitable for all types of wallpaper, since the probability of a perfect connection of the cut joint is low, especially for paper wallpaper, which, after getting wet, increases in size, and when dry, decreases.
To prevent the glue at the puncture site from getting onto the wallpaper, cover it around the perimeter with tape or masking tape. When finished, remove them from the wall.
In order to avoid problems with bubbles under the wallpaper in the future, it is necessary to carefully follow the technological process of their installation. In addition, preparing the walls for work plays an important role. They must be smooth, previously primed and clean. Only in this case will it be possible to avoid the appearance of bubbles under the canvas.
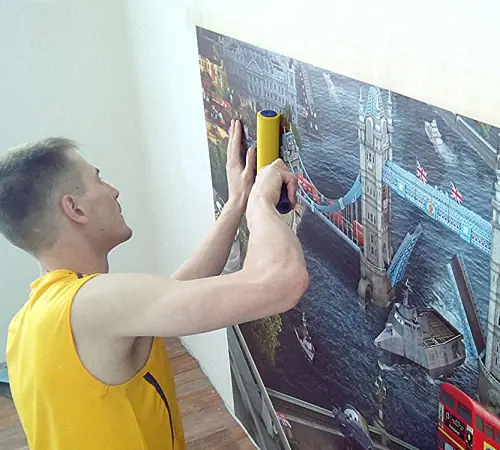
How to remove bubbles on paper wallpaper: general recommendations
The process of eliminating bubbles on wallpaper must be performed immediately after they appear. To remove the bubble that appears immediately after gluing the canvas to the wall, use a plastic spatula or brush if the canvas is non-woven.
A special rubber roller will help remove bubbles from vinyl wallpaper; for paper wallpaper, we recommend using a dry, clean rag. These tools will help drive the glue off the canvas. Do not press on the surface to avoid damaging the canvas.
If bubbles are still visible after gluing the wallpaper, wait until they dry; in some cases, the wallpaper shrinks after gluing it to the wall. The bubbles may become less noticeable. This rule is especially relevant for paper-based wallpaper.
Before removing bubbles from the wallpaper, evaluate the scale of the job. If after the glue has dried, bubbles are still visible, then in some cases it is necessary to replace the canvas. However, do not rush, first use the methods below, if none of them help, only in this case remove the canvas. The first method is using a syringe and needle. Remove the needle and fill the syringe with wallpaper glue. Poke the center of the bubble.
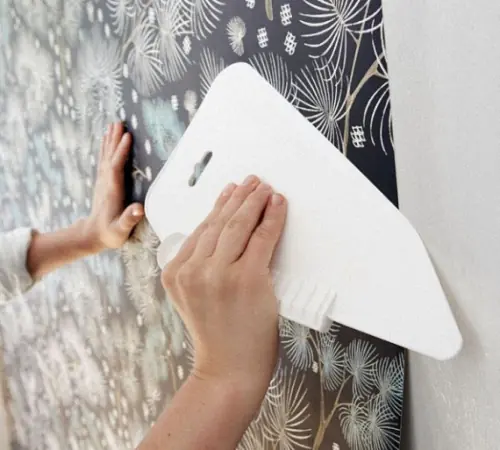
Using a plastic spatula or roller, remove excess air. Run the glue into the bubble, use a special tool to smooth the surface of the wall, moving from the edges to the center. To remove excess glue, prepare a clean rag in advance. During the work, it is forbidden to rub the wallpaper, as there is a risk of damaging it.
If there are large bubbles on the wallpaper, more drastic methods must be used to remove them. Use a blade to cut the bottom of the bubble. Using glue with a syringe, run the adhesive under the wallpaper. Try to connect the cut parts in such a way that after the glue dries, no gaps form between them.
How to remove bubbles under wallpaper: recommendations for installing wallpaper
To prevent bubbles from appearing on the walls after wallpapering them, use these recommendations:
1. Prepare the surface thoroughly for wallpaper installation. Try to level the walls as efficiently as possible; be sure to apply a primer to them. The soil will not only protect the wall from the development of mold and mildew on it, but will also increase the adhesion between the wallpaper and the wall.
2. Choose glue in relation to the type and density of wallpaper.
3. When installing wallpaper, observe certain temperature conditions: room humidity no more than 50%, temperature 18-23 degrees.
4. If the temperature in the room is higher than normal, place a bucket of water in it; it is recommended to cover the windows with thick cloth. This will prevent the wallpaper from drying out too quickly.
5. Within two days after the start of installation work, do not create drafts in the room and do not turn on the air conditioning.
6. In the process of diluting glue, strictly follow the instructions, measure the water with special devices, and not by eye. There is no need to mix the glue too much; the presence of oxygen in its composition leads to the formation of bubbles.
7. Depending on the type of wallpaper, apply glue to the wall or canvas using a tool recommended by the manufacturer.
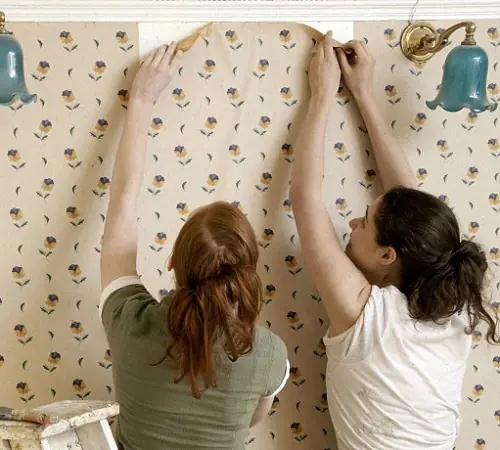
8. Watch the force of pressing on the wallpaper, try not to damage it during the alignment process. Do the work with at least two people. One person glues the wallpaper on top, and the second on the bottom.
How to remove bubbles from non-woven wallpaper
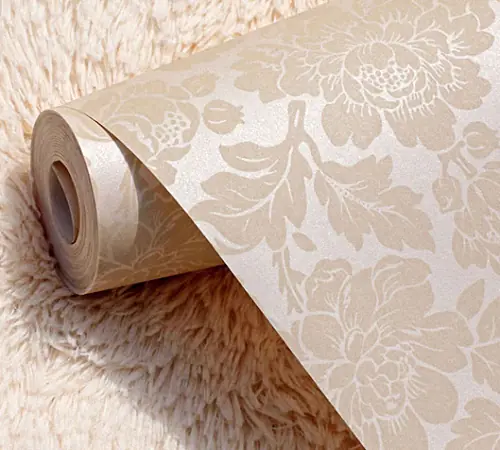
For the manufacture of non-woven wallpaper, non-woven materials based on cellulose are used. To connect the fibers together, polymer components are added to them. Compared to paper wallpapers, such wallpapers are more durable, abrasion-resistant, more fire-resistant and require further coloring.
Bubbles rarely appear on non-woven wallpaper, since they have a certain density and are installed on a wall already covered with glue. However, in such situations, bubbles still form on the surface of the wallpaper:
- the presence of air between the wall and the canvas, in order to prevent this process, it is recommended that when gluing the wallpaper, level it on the wall with a special roller, try to expel the air from under the wallpaper to the side sections of the canvas;
- if bubbles form on the wall after the wallpaper has dried, this means that the surface was not leveled properly, in which case the best solution would be to remove the wallpaper, level the surface and carry out further finishing of the walls, otherwise, gaps will form between the wall and the wallpaper in which Mold and various microorganisms multiply.
To remove bubbles from already dried non-woven wallpaper, a syringe and a stationery knife are enough. Fill the syringe with glue for non-woven wallpaper. Having made a cut, run a little glue there and cover the wallpaper with maximum visibility of the joints.
Bubbles under wallpaper - how to remove
If there are large bubbles during the wallpapering process, they are considered normal. To remove them, simply rub a dry cloth or a special tool over the wallpaper, depending on the type of wallpaper.
If the wallpaper is multi-layered, then bubbles are most often formed due to insufficient absorption of the glue. To remove air, smooth the fabric using a spatula. If you cannot remove the bubbles, carefully separate the canvas from the wall and glue it again.
When wallpaper absorbs glue, it becomes more elastic and stretches well. After the moisture evaporates, the canvas returns to its previous shape. During the process of tensioning the wallpaper, small air bubbles disappear on their own.
Please note that PVA glue is strictly not used when gluing wallpaper. Firstly, it does not dissolve with water, so in the future, when removing wallpaper from the wall, problems will arise. In addition, yellow glue stains are visible on the walls.
When removing bubbles from the surface of the walls, you must be especially careful. Since paper wallpaper, after being strongly smoothed, becomes deformed, and non-woven wallpaper, after making a cut, loses its attractiveness.
To ensure that the wallpaper, after hanging it, pleases you with an attractive appearance and that bubbles do not form between it and the wall, carefully study the installation technology of this finishing material and adhere to it.
Remove wallpaper bubbles video:
Wallpapering is a relatively inexpensive way to transform our home. But sometimes minor troubles that arise at the last stage of work can significantly ruin our mood. Most often this happens when for some reason bubbles appear on the wallpaper and we don’t know what to do about it. It is best to take all measures to prevent their occurrence and thus avoid the inevitable disappointment.
The most common causes of swelling on wallpaper:
- The appearance of blisters becomes inevitable if, while gluing a piece of wallpaper, it is not carefully smoothed out. Armed with special rollers, which are sold in retail chains, or a piece of clean fabric, you will be able to expel all the air from under the cloth without much effort. Correct movements should be directed from its center to the edge.
- The reason why bubbles appear on wallpaper is often drafts. Therefore, it is advisable to keep the door to the house closed for at least a day.
- It is equally important to monitor temperature and humidity. Dry air in a room can be humidified by placing several cans of water in the room.
- Moving too quickly when preparing glue will allow air to accumulate in it. Therefore, it is necessary to strictly follow the instructions printed on the packaging and refrain from haste, which can only cause harm. To ensure even distribution of the glue, many people recommend applying it simultaneously to the wall and to the prepared piece of wallpaper. At the same time, make sure that there is not a lot of it, but not a little either. Both lead to undesirable consequences. Buy adhesive strictly in accordance with the chosen type of wallpaper.
- One of the most common reasons is improper preparation of the wall surface for work. Any unfilled crack or hole prevents the wallpaper from adhering. The air that accumulates in such places turns into air bubbles.
Types of wallpaper and swelling
There are a huge number of types of wallpaper, and each of them manifests itself differently in relation to the formation of blisters. For example, cheap single-layer paper wallpapers often bubble, unlike non-woven ones, which are practically free of this drawback. Troubles arise, most often, when the sticking recommendations that are attached to each type of product are violated.
If after the work done bubbles appear on the wallpaper and the question arises how long it will take for them to go away, it is recommended not to worry about this, but to wait a little. Most swellings disappear on their own as the fabric dries and stretches. Depending on the material, glue and temperature, this may take from one to three days. You can remove bubbles without waiting for the wallpaper to dry only if you are really sure that you cannot avoid this procedure. But before eight hours have passed, it is better not to touch the swelling.
How can I remove bubbles from wallpaper?
If the glue has not yet dried, we pierce the fabric with a needle and smooth it well with a roller or cloth, allowing air to escape through the puncture. If it is dry under the wallpaper, put glue into a medical syringe and carefully inject it into the swelling area. We smooth the material, as in the previous case, trying to evenly distribute the glue under the paper. We remove the liquid flowing through the hole with a sponge.
If you have wallpapered and there are too many bubbles left, try re-sticking the wallpaper or making a cross-shaped cut. Unlike a puncture, any cut, even a small one, can leave a gap that can ruin the appearance of the room.


