There is probably not a single mother who has never used cream on her face, arms, legs, body, eyelids, neck, and décolleté in her life. in a word, we all use at least something, and the quality of store products does not always satisfy us. Even luxury cosmetic products have critics who claim that the cream is too greasy/sticky/dense and generally does not help against wrinkles. No, it doesn't help! Do you know the saying: “If you want something done well, do it yourself”? So, this also applies to cosmetics! Today forum member Luchezara shares with us her experience in making cosmetics at home. By the way, it’s no more difficult than cooking borscht!
A little educational program in the field of cream making
All creams consist of three phases: one, fat And active.
The aqueous phase includes water, hydrolates (floral waters), herbal decoctions
To fatty – basic vegetable oils and animal fats.
Active – essential oils, vitamins and other active ingredients for moisturizing, rejuvenating, and treating.
The following base oils are suitable for dry skin:
Suitable for oily skin
- Sesame oil,
- grape seed oil,
- jojoba oil.
“Don’t believe anyone who says that if you have oily skin, you can’t use oils; all cells need fats, you just need to choose them carefully!
The ratio of the water and oil phases depends on the skin type and the goals (nutrition or hydration): for oily skin there is more water component, for dry skin there is more oil. For example, 25-30% oils, 60-65% water and 10% active ingredients are good for oily skin, but for dry skin in winter, the percentage of oils can be increased to 40%.
“Active components should be administered at 5-15%, depending on the purpose. For young skin, 5% is enough; to enhance the effect, up to 15% is possible.
Well, now I’ll tell you a secret. We all know that oil and water do not mix, no matter how hard you try. So how can you get the cream? We need an emulsifier!
“You can use regular beeswax as an emulsifier - this is the simplest and most natural means for mixing.
But, unfortunately, with wax you can prepare a cream with a water phase of no more than 20-30%, which means it will be a greasy, heavy cream. Therefore, based on natural remedies, our cosmetics industry has learned to make excellent emulsifiers that mix everything! Olivem 1000 is produced from olive oil, BTMS from palm oil. The percentage of emulsifiers added depends on the consistency of the cream we want to obtain. So, liquid lotion will require 1.5-2%, thicker cream - 2-3%, very thick - 5%.
Another problem that cannot be ignored is the mycobiological purity of the cream. Even with careful processing of tools and cream jars, some microbes can get into the cream and begin to develop there.
And here we have two options:
- prepare the cream in small quantities, use within 5-7 days if stored in the refrigerator,
- add preservative.
There is no need to be especially afraid of preservatives, since we will introduce them minimally, or choose from natural ones.
Natural ones include:
- beeswax,
- rosemary or St. John's wort extracts,
- propolis,
- malavit, uh
- tea tree essential oil,
- vitamin E.
However, the use of natural preservatives does not extend the life of the cream for long, about two to three times. If we want to extend the shelf life to 1-2 months, we cannot do without chemicals. But the doses that we administer are several times less than industrial doses.
“Pay attention to the expiration date of the cream when purchasing: the longer the expiration date, the more preservatives it contains. Choose the lesser evil, take the cream with the shortest shelf life.
Home cream making technology
So, let's move directly to the process technology. There are also secrets here.
We will need:
- Recipe (compiled by me experimentally, I will give it below).
- A clean, ironed diaper or towel.
- Alcohol for cleaning tools and utensils.
- Scales accurate to at least tenths of a gram.
- Small mixer.
- Wooden spatula or plastic spoon for collecting ingredients.
- Thermometer.
- Glass rod.
- Plastic cup for weighing.
- Two glass cups.
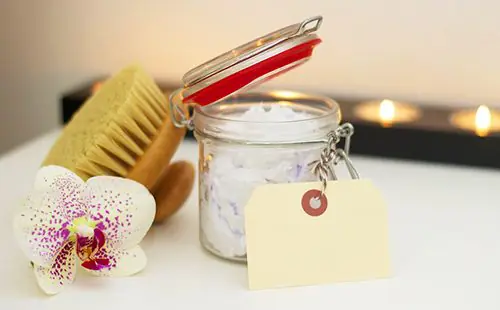
- Jar for cream.
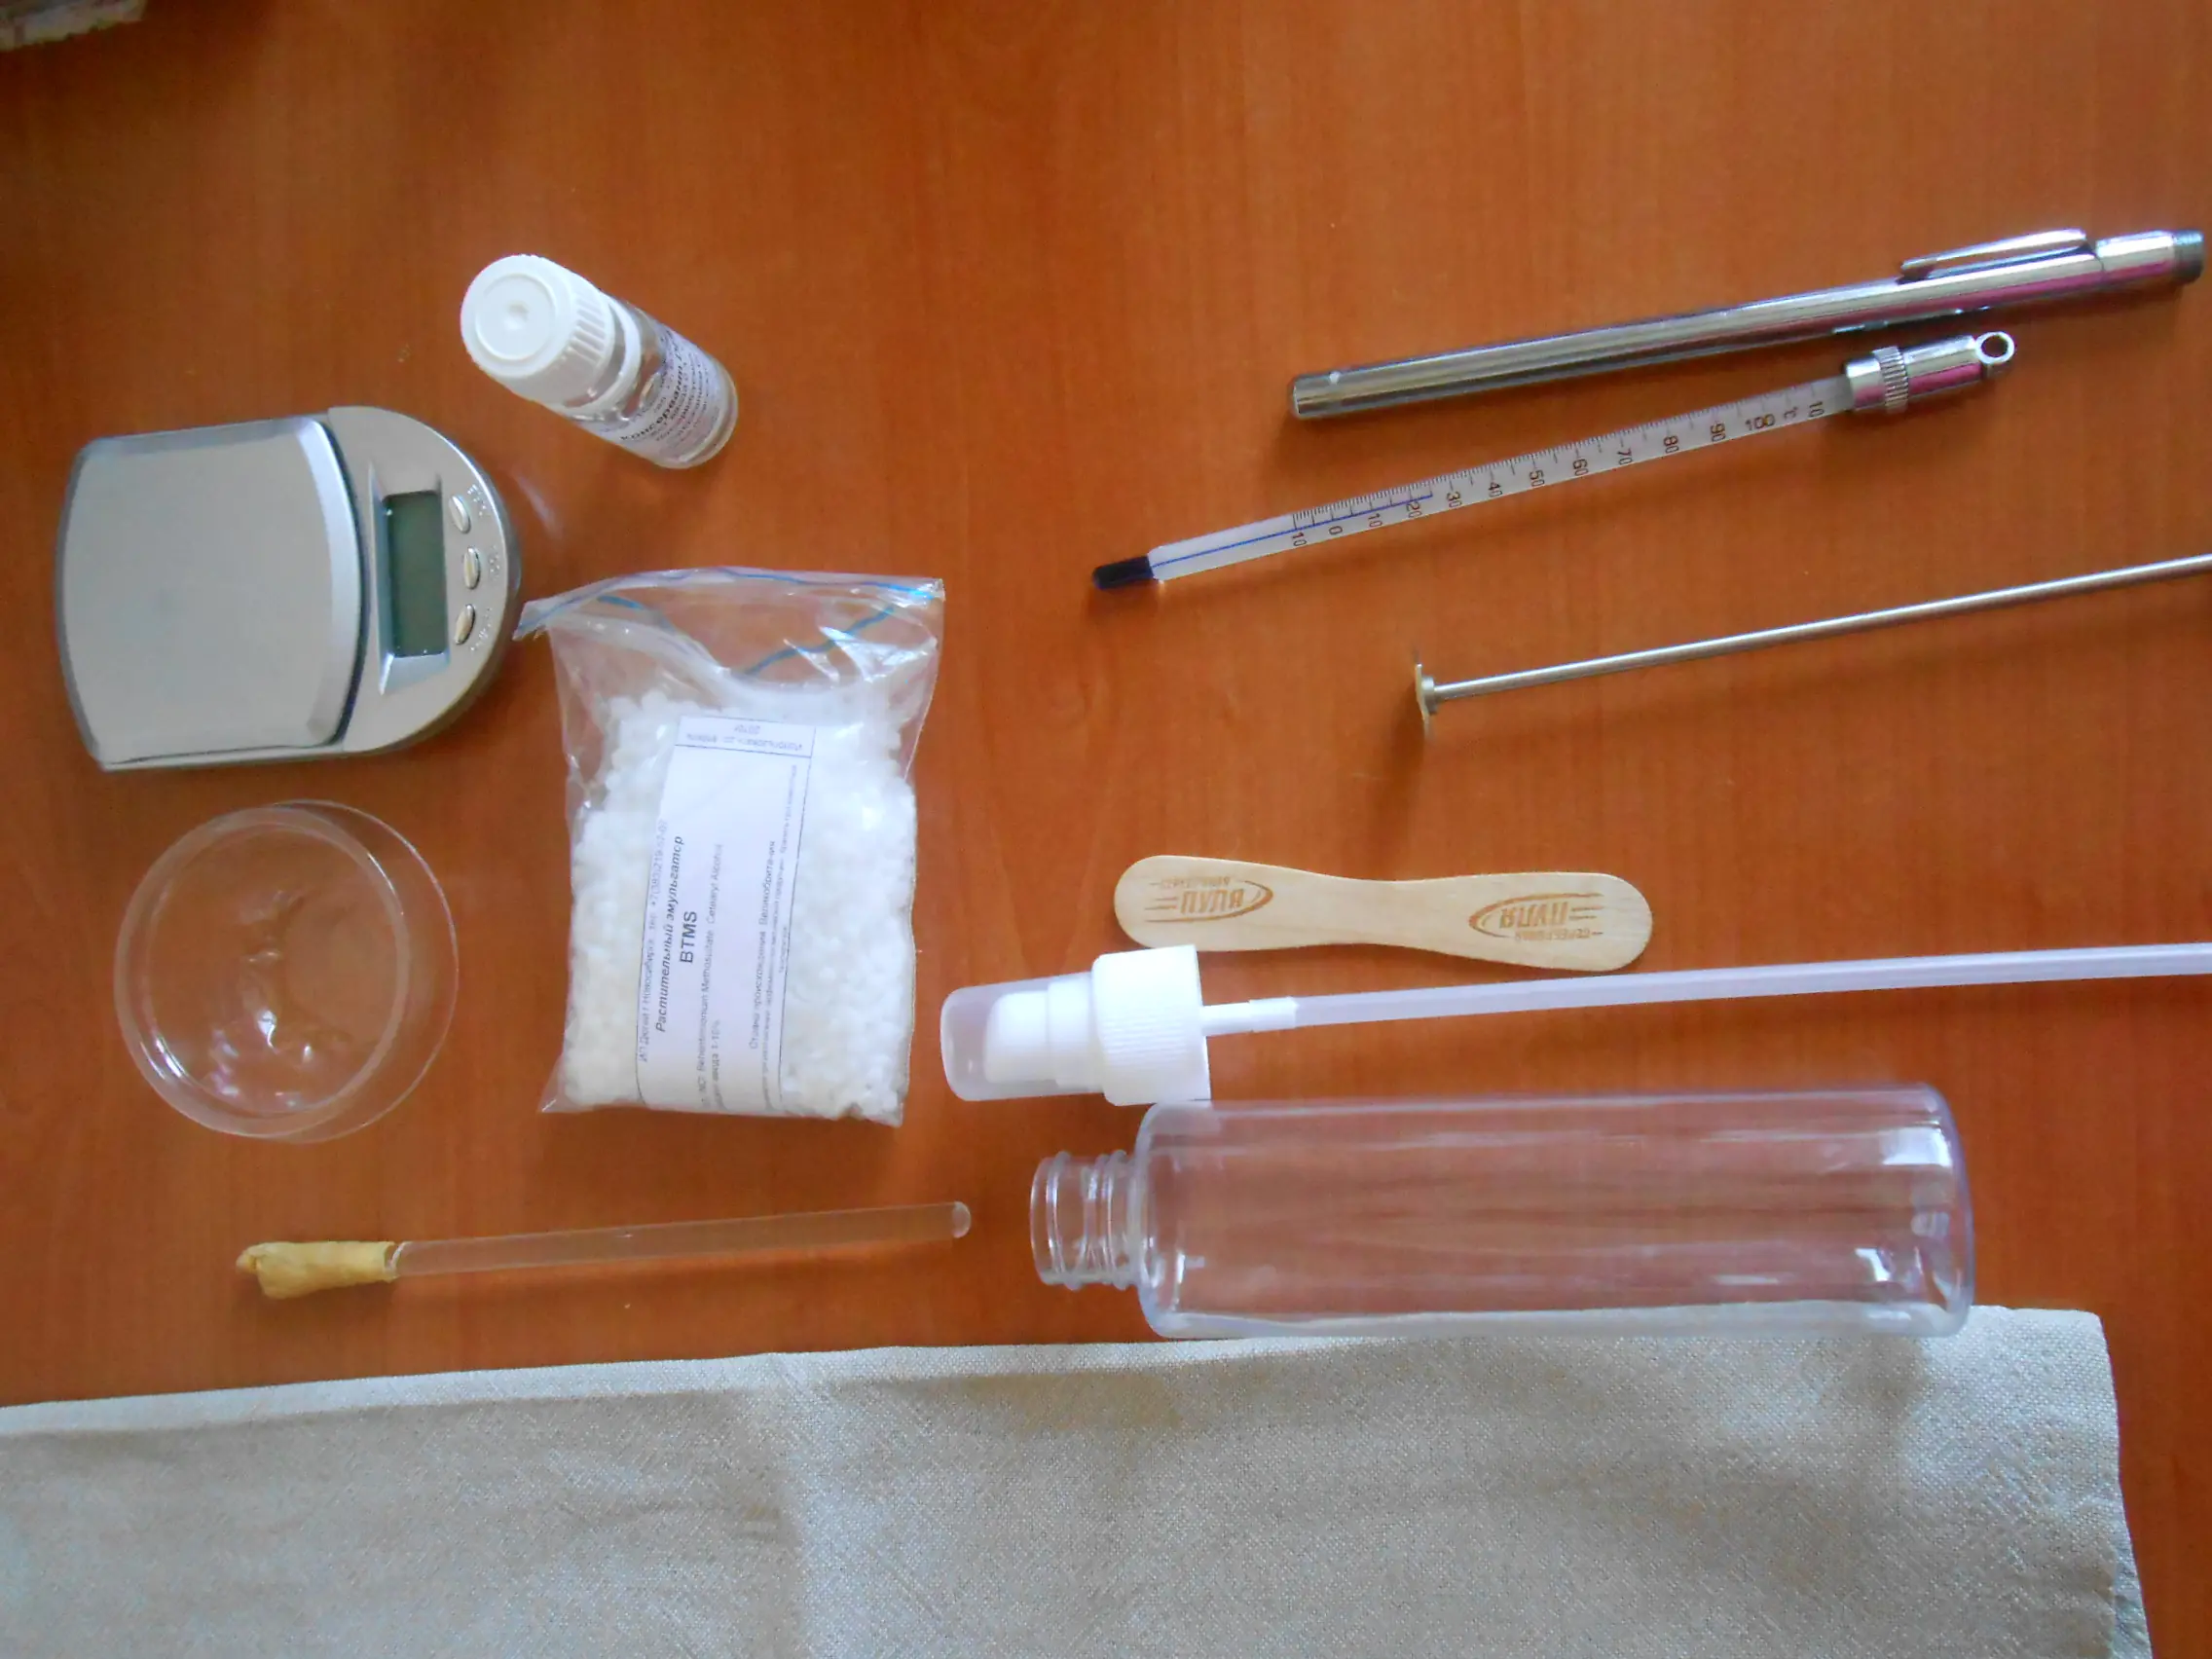
The whole set of tools
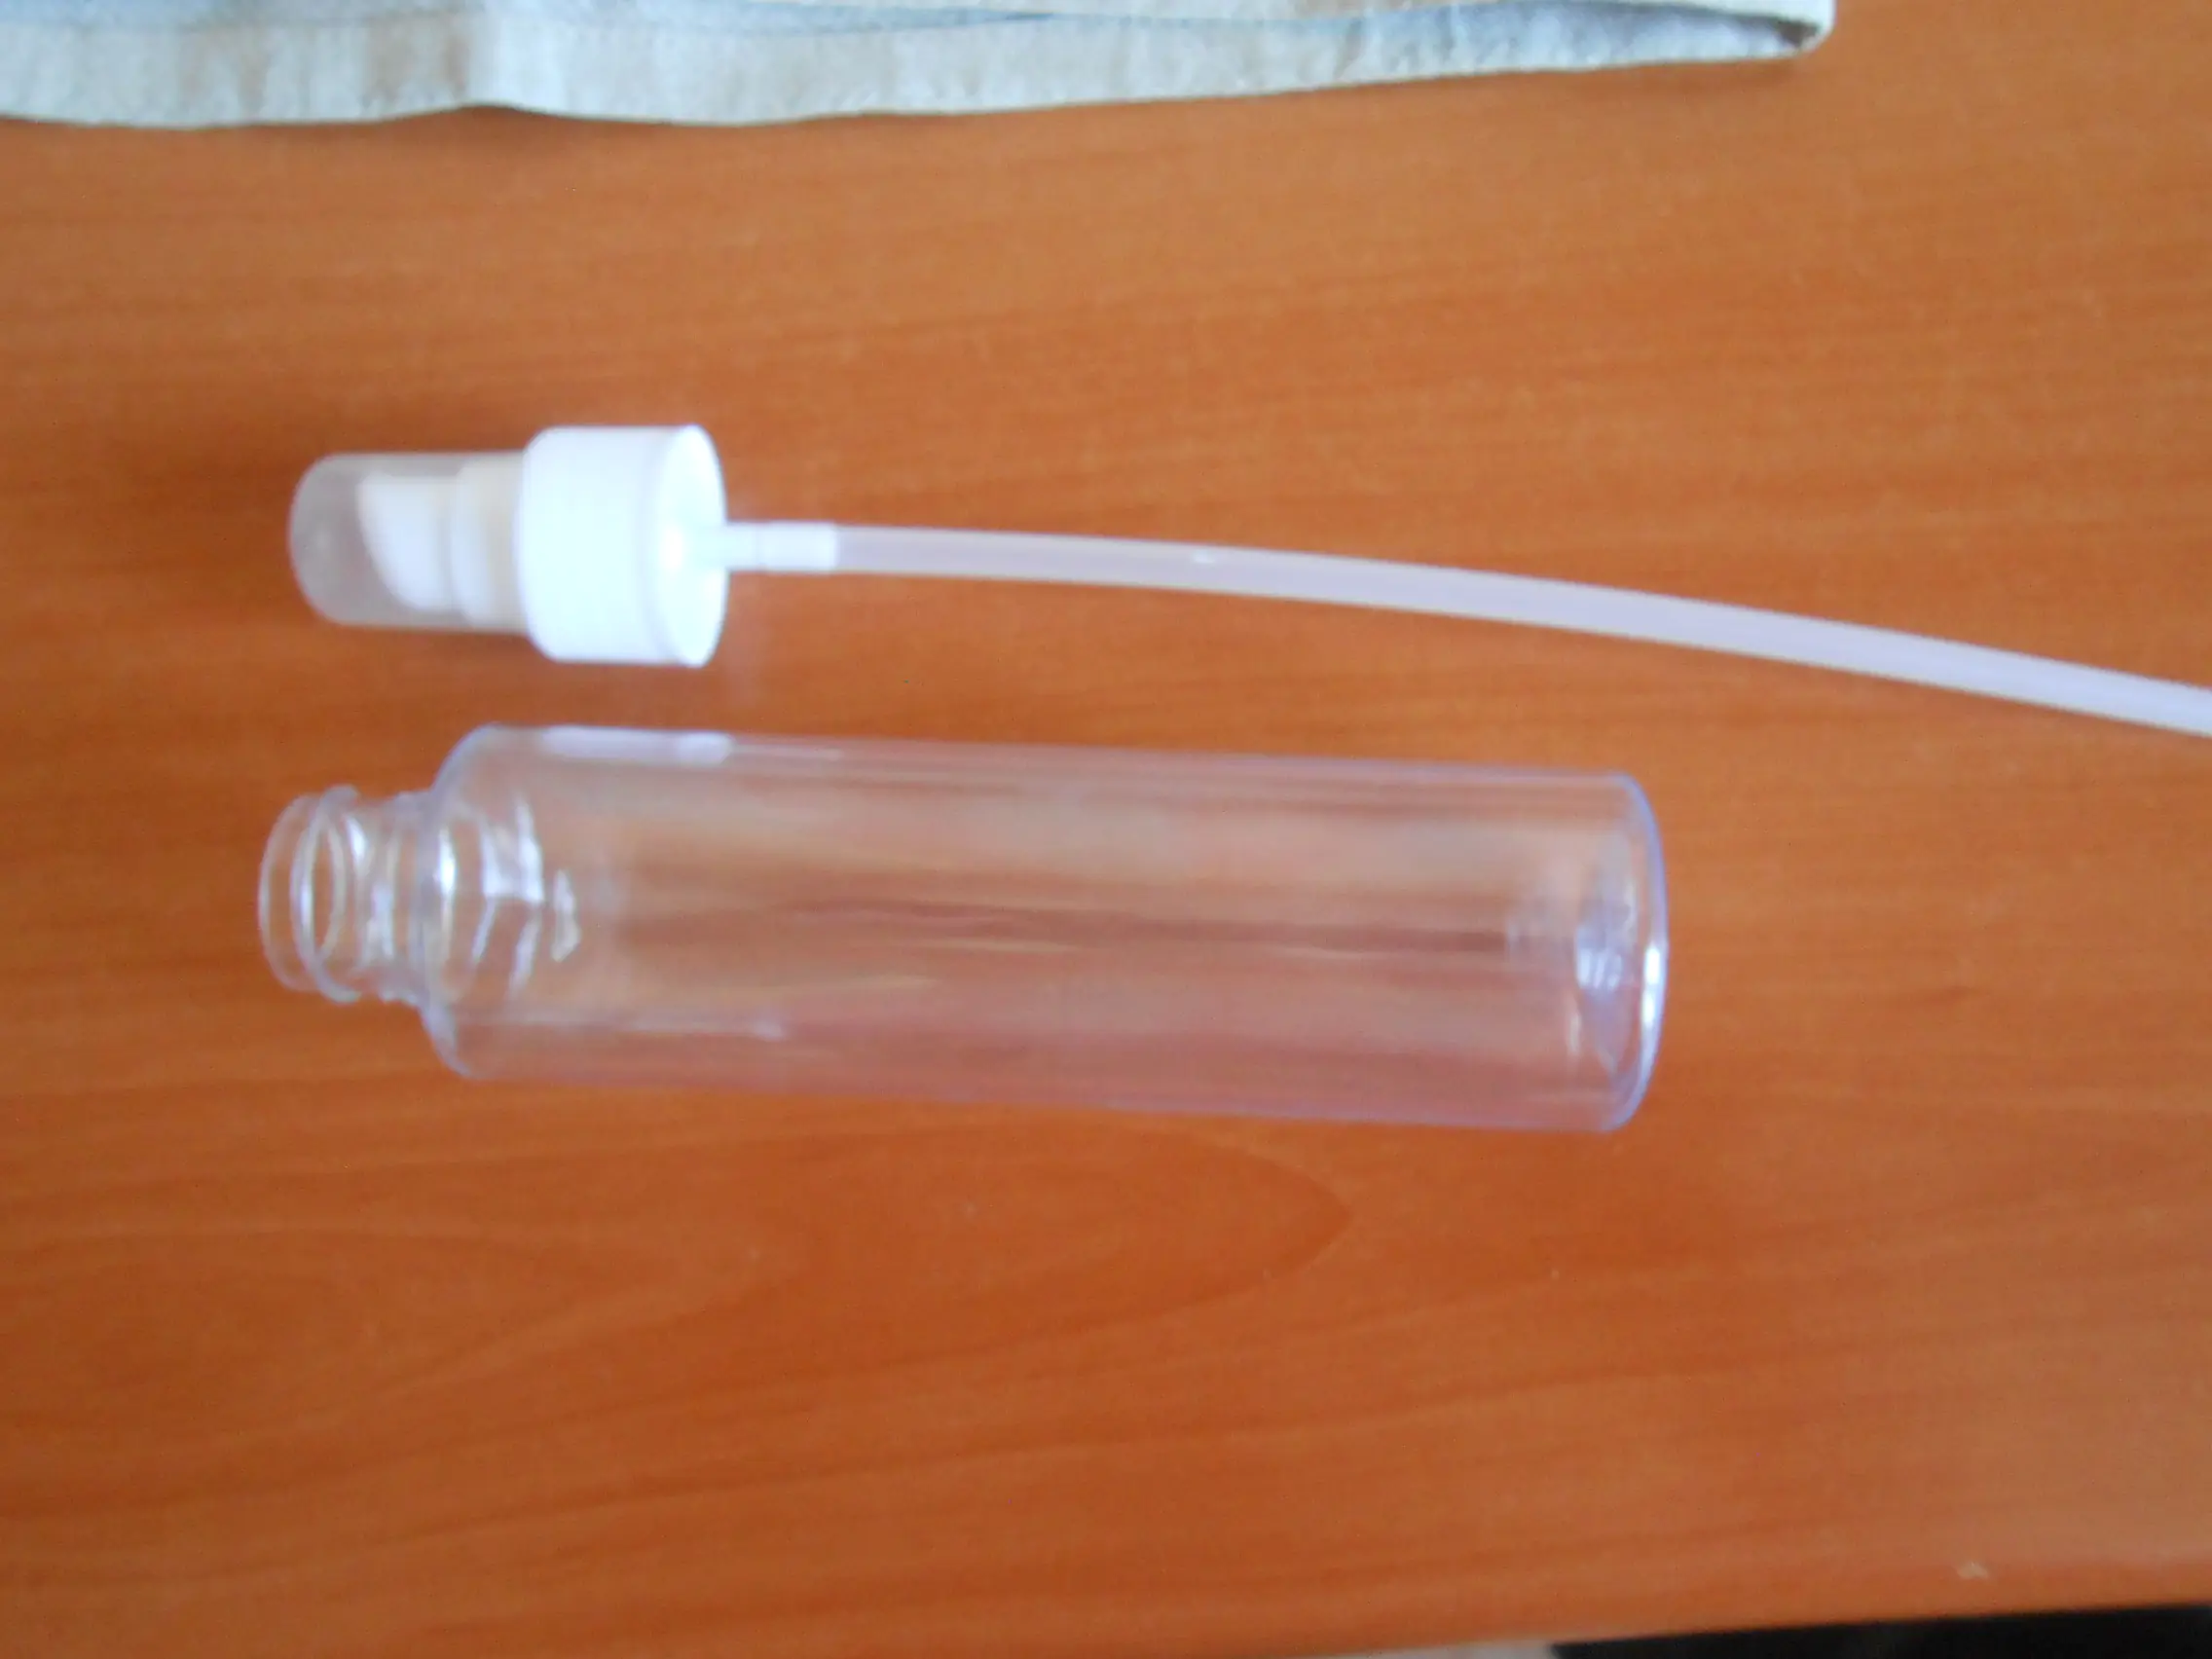
Jar for cream. Bottles with a dispenser are specially used so as not to introduce contamination into the cream during use.
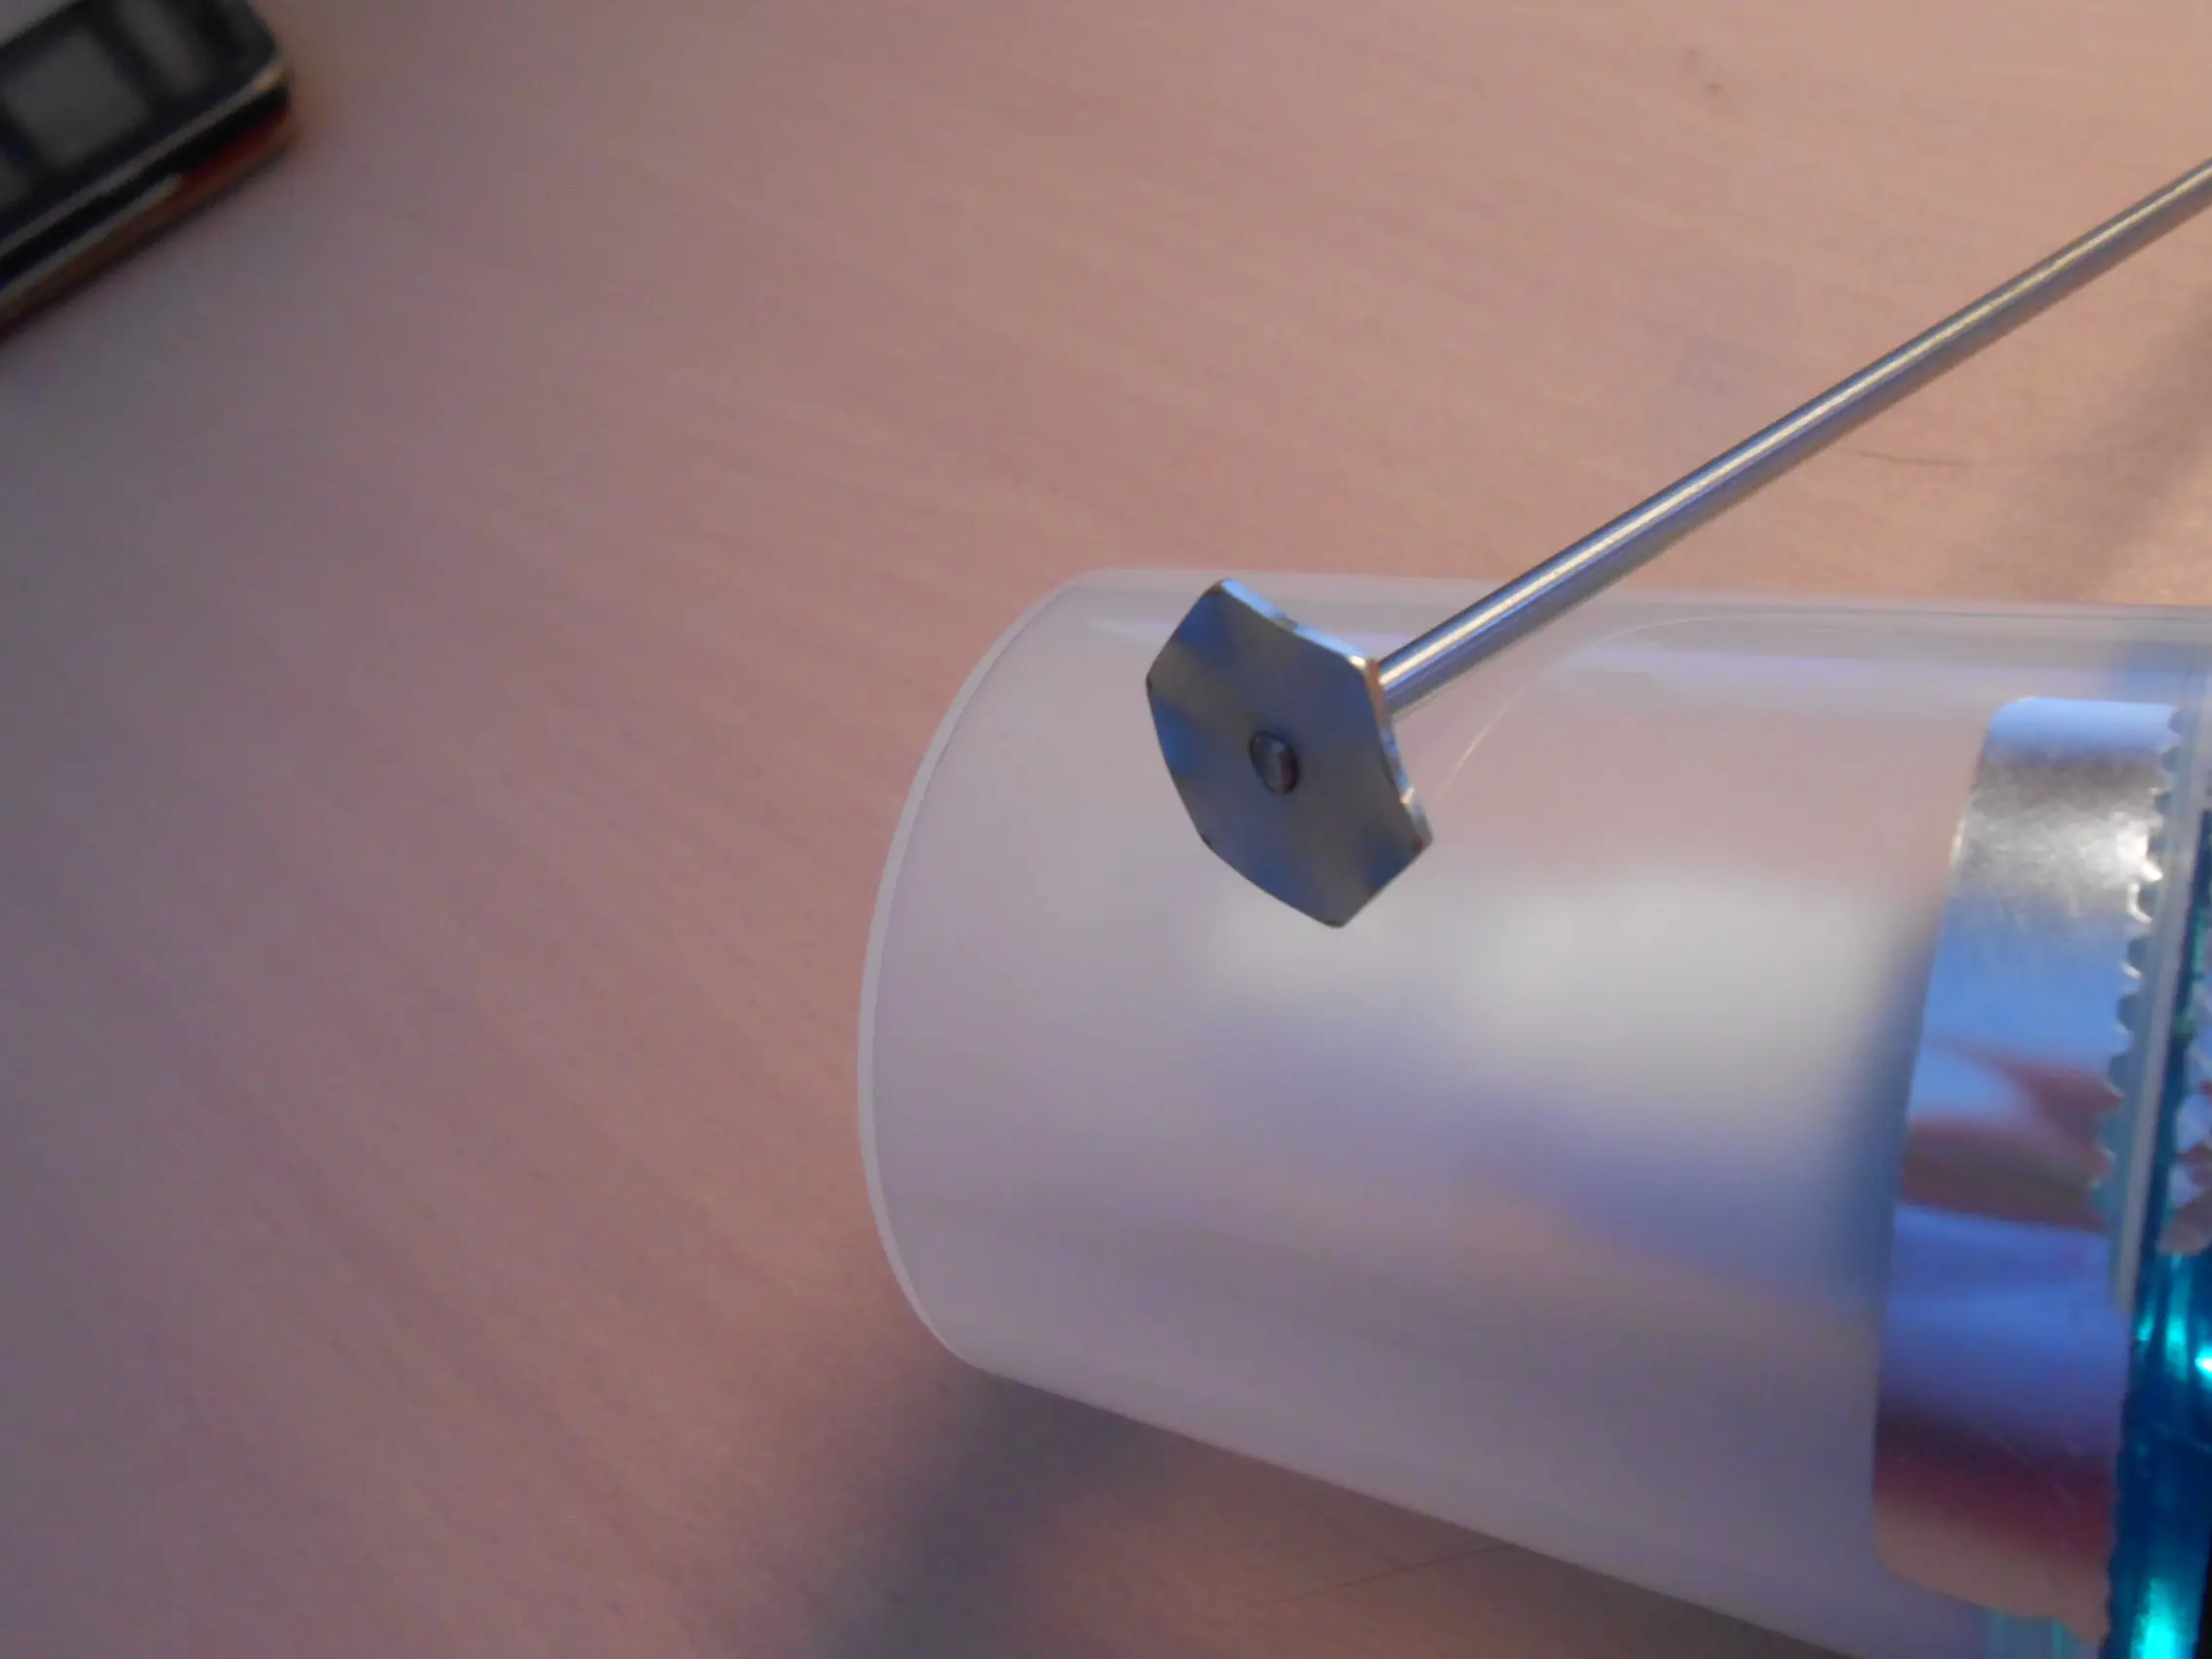
My mixer (bought on Aliexpress as a cappuccino maker). It is important not to use a high-speed one with large blades, so that it does not whip into foam, but simply mixes well.
Girls who set up “cosmetic laboratories” at home may seem like eccentrics from the outside. Indeed, why waste time when store shelves are replete with ready-made skin care products? However, this is only a superficial glance. In fact, there are many reasons to make face cream at home. Handmade cosmetics are sometimes safer and more effective than industrial ones. In addition, the result is an exclusive product made for the individual needs of a particular woman.
Creams produced by cosmetic companies contain inert, that is, “passive” substances. They add volume to the product, but are useless for the body. This is the best case scenario. At worst, components may be found that do not have harmful effects only under certain storage conditions. But these conditions are not always met...
The industrial cream gets its pleasant smell and delicate structure thanks to flavorings and emulsifiers. These components also do not affect the condition of the skin. It is also important to understand that with the indicated storage periods (up to several years), the active substances lose their beneficial qualities much faster. As a result, a person uses the product, as they say, “for show.”
Homemade face cream: pros and cons
All this makes homemade face cream more popular than store-bought ones. However, handmade cosmetics are “not without sin.” Before you start making the product, you need to assess your capabilities. Will you be able to follow the recipe and dosage? Do you have enough patience? It is also important to understand the benefits of home care products and be aware of the possible risks.
6 advantages
Homemade face creams have a number of advantages compared to store-bought ones. There are six main advantages.
- Proven composition. You will know exactly what is included in the product, because you carry out the “casting” of the ingredients personally. As a result, you add only what you consider effective and harmless.
- Only "from the assembly line". You will always use a fresh product, since the shelf life of homemade cosmetics is short. Maximum - two weeks.
- Required volume. You can prepare any portions of cream. Test version - in small quantities. And if it fits, you can do more at once.
- Affordable price . Compared to branded care products, homemade cream will cost less. Even if at the beginning you need to spend money on purchasing the necessary components, they will last a long time.
- Opportunity to experiment. You can easily adjust the composition of the cream by adding a little more or a little less active ingredients next time, trying additional ingredients.
- An original gift. Home-made cosmetics can be given to friends and family, having, of course, gained some experience in manufacturing.
6 cons
Along with the advantages, there are also certain disadvantages of homemade cosmetics. It’s worth knowing about them before you start making them. There are six main nuances.
- You need to find “your” formula. Does the cream recipe seem ideal, containing ingredients that are most suitable for your skin? Don't rush to rejoice. It may turn out that the cream that suits someone else is ineffective in your case. Or the ingredients do not interact well with each other. Before you find the right formula, you may have to conduct more than one experiment.
- Component costs. The question of costs—time, effort, money—follows from the previous paragraph. You may have to spend more than one day and many ingredients until you get the hang of it. Therefore, developing the technology can be a lengthy process and cost a pretty penny.
- Allergy risk. Due to the high concentration of active ingredients in the composition, the product may cause an allergic reaction.
- "Heavy" consistency. It is unlikely that you will be able to prepare a gentle and light face cream at home. Unlike store-bought products, your product will turn out to be quite oily, with a strong odor, and a heavier texture. It's all about the absence of industrial emulsifiers, which are used in the production of creams and give it “lightness”.
- Short shelf life. The short shelf life of homemade creams is not only a plus, but also a minus. It is necessary to constantly update the contents of cream tubes. And if you miss the moment, you will smear yourself with an expired product.
- It may not work out the first time. Cream making is a specific process that requires certain skills. You need to be prepared that the first cream will come out “lumpy”.

Tools for making cream
The future cream maker needs to acquire a certain set of tools. The list is small, acquiring everything you need is easy and inexpensive. To make face cream at home, you will need the following items.
- Enameled cup. Definitely a large diameter. Can be replaced with a wide pan. These are dishes for a “water bath”.
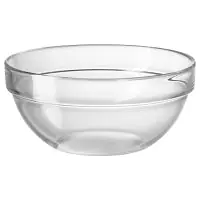
Glass bowls. At least three. They are needed to mix and heat ingredients.- Spoon . Preferably porcelain. It will come in handy for stirring and arranging the products.
- Syringe . Volume 2-5 ml. Needed to maintain strict dosages of oils and other liquids.
- Corolla. Or a mixer for whipping. It’s convenient if you have a special mini-mixer.
- Thermometer for liquids. Needed to measure the heating temperature of substances and mixtures.
- Containers for ready-made creams. Glass and plastic jars with lids. You can take baby food containers.

6 main components and their effects
Whatever face cream you decide to prepare, with all the variety of recipes there are common groups of components. There are six in total. Within the framework of which the necessary ingredients for dry, oily, and sensitive skin are already selected.
- Water. Makes up about 60% of any cream. The component is necessary, but replaceable. For example, a decoction of herbs. If you just use water, then only distilled water.
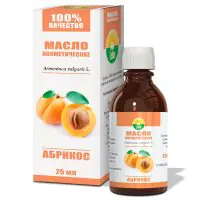
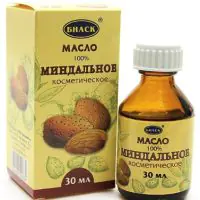
- Fat base. Otherwise - base oil, 30% of the composition. It is this that gives the product its oiliness and helps the active ingredients penetrate inside. For dry skin, apricot, peach, and jojoba oils are suitable. Fatty - almonds, grape seeds. Sensitive - lemon, sea buckthorn, burdock.
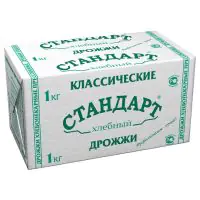
- Active substances. They occupy 5-8%. This is exactly why you need to make face cream. The active substance moisturizes dry skin. Relieves inflammation and dries out oily skin. Soothes and strengthens sensitive areas. The active substances are vitamins in liquid form, yeast, bee products, and plant extracts.
- Essential oils . Due to the strong effect, they are used in small quantities, up to ten drops. The cream is flavored, enriched with useful substances, and protected from “bad” microflora. For those with sensitive skin, rosewood and verbena oils are suitable. Oily skin will be made healthier by lemon, bergamot, and grapefruit oils. And the dry ones will be nourished with sandalwood and jasmine oils.
- Emulsifier. The cream contains 2-3%. Necessary for creating homogeneous compounds from immiscible liquid substances. Egg yolks and whites, lecithin, wax, alcohol, and stearic acid are used as emulsifiers.
- Preservatives. Necessary for saving funds. Prevents the development of microbes. Preservatives for homemade creams are usually essential oils and plant extracts - chamomile, lemon, eucalyptus.

Preparation procedure: 8 steps
To make a natural face cream at home, you need to follow the correct procedure. Only eight steps separate you from the result.
- Base and water - “to the bathhouse”. Place the enamel container on the fire, filling it with water. This is for a water bath. Place glass bowls in it, one of which contains base oil, the other contains distilled water or a decoction of herbs.
- Maintain the temperature. Heat, measuring temperature, to 60°C.
- Plus an emulsifier. Then add the emulsifier to the oil and stir until dissolved.
- Stir. Combine the contents of the bowls, continuing to heat and stir well in one direction.
- Cool slightly. Remove the homogeneous mixture from a container with hot water into a container with cold water.
- Beat. This should be done by periodically measuring the temperature until it drops to 35°C.
- Plus assets and ethers. Add active ingredients and essential oil drop by drop.
- Refrigerate. Stir or lightly beat and transfer to a jar. This product should be stored in the refrigerator.

Simple recipes for beginner cream makers
Experienced cream makers masterfully combine various ingredients and experiment with dosages. It is better for a beginner to start using the simplest recipes. Such, for example, as described below.
Oatmeal with glycerin
Peculiarities . Minimum ingredients and effort. The product can be used for any skin. Has a cleansing and refreshing effect.
- Heat 10 g of glycerin in a water bath.
- Pour in the same amount of oatmeal, which must be ground in advance.
- Pour fresh strawberry or cucumber juice, or chamomile decoction into the mixture. Volume - 50 ml.
- Remove from heat, beat. Preferably with a blender.
- Cool, put in a cool place.
Peach version
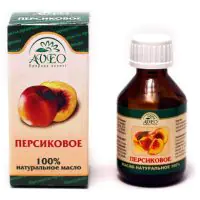
Peculiarities . This simple recipe is suitable for all skin types. The fairly light consistency will help the product to be absorbed well, toning and moisturizing the skin.
- Combine 5 g of lanolin (wool wax) and 2 ml of peach oil in a container.
- Heat using a water bath to 40°C.
- Pour in 10 ml of water, stir, remove from heat.
- Cool, transfer to a container.
Nourishing without heating
Peculiarities . Skin that is exposed to the harmful effects of cold, dust, and sun needs special nutrition. An easy-to-prepare cream will help your face become healthier and fresher. The product is recommended for use at night for women over 40 years of age.
- Beat a whole chicken egg.
- Pour in 80 ml of heavy cream, 10 ml of liquid honey, two drops of tea tree oil.
- Mix well.
With lifting effect
Peculiarities . This nourishing face cream at home can also have a tightening effect. Recommended for aging skin.
- Combine 10 ml of lanolin, 5 ml of honey, 5 ml of almond oil in a glass or enamel bowl.
- Bring to heat, stir until smooth.
- Cool while continuing to stir.
- Transfer to a glass container.
With almonds against oily shine
Peculiarities . This product will nourish the skin of the face and at the same time relieve it from greasiness. A godsend for oily sensitive skin.
- Heat 20 g of beeswax in a water bath.
- Add 60 ml almond or peach oil.
- Separately, dissolve half a teaspoon of borax (boric acid salt) in 30 ml of water in a water bath.
- Mix the contents of both bowls and heat.
- Add 60 ml rose water, remove from heat.
- Beat well and cool.
Moisturizing with honey
Peculiarities . This DIY face moisturizer is made with lemon and honey. Can be used for both oily and dry skin.
- Heat 150 ml of olive oil and 50 ml of honey, not exceeding, to 50°C.
- Combine 50 ml glycerin and 150 ml lemon juice.
- Combine the two mixtures, stir, remove from heat.
- Mix in the yolk of one egg.
- Mix with a mixer until smooth, adding five drops of camphor alcohol.
- Moisturizing face cream at home can be stored not in the refrigerator, but simply in a cool place.
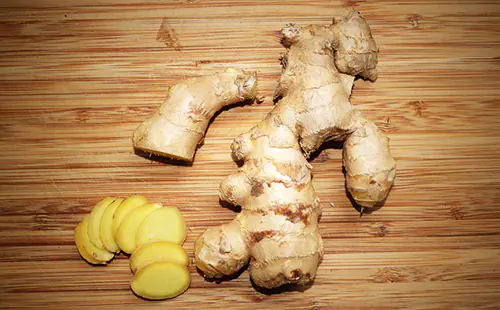
Rejuvenating ginger
Peculiarities . Ginger has a tonic and regenerating effect; together with other components of the cream, it helps to smooth the skin and prevent new wrinkles. Use on the face, neck and décolleté area. Especially recommended for those over 50 years old.
- Grate fresh ginger and squeeze out the juice. The amount of juice is a tablespoon.
- Melt 70 g of cocoa butter using a water bath.
- Pour in two teaspoons each of apricot and sesame oils.
- Heat to 60°C.
- Add ginger juice and 5 ml of vitamin E oil solution.
- Stir and heat for a few minutes.
- Store in a glass container in a dark place.
Anti-wrinkle beeswax
Peculiarities . Anti-wrinkle cream at home is prepared using beeswax. Wax smoothes the skin, and the remaining components nourish and moisturize it. Suitable for aging skin, especially sensitive and oily skin.
- Pour 50 g of dried calendula with a glass of boiling water, cool, strain.
- Melt 20 g of wax.
- Mix the following oils with wax: 20 ml almond, five drops lemon, 25 ml calendula.
- Pour in 15 ml of lemon juice and calendula infusion.
- Remove from heat, beat lightly until smooth.
- Transfer to a storage container.
Using these DIY face cream recipes, preparing a handmade skin product is quite a feasible task. If you like the lesson, you can expand your knowledge and skills in this area, become a real master of cream making and a businesswoman. For example, Olga Mazur-Tkachuk from Ukraine 13 years ago was simply looking for suitable care products for her skin. The woman was not satisfied with the results of store-bought cosmetics. And she tried to prepare her first remedy based on Internet tips. Today Olga has her own natural cosmetics store and her own brand.
Every day there are newer and more advanced developments of recipes for creams for various purposes, but this makes a procedure full of creativity that allows you to make a decent cream at home, even better if according to grandmother’s reliable recipes proven over centuries, becoming much more relevant. Homemade creams are good because when creating them, we can choose the ingredients that are most suitable for our skin and at the same time remain confident in their quality and environmental friendliness. In this article we will look at how to easily and simply prepare face cream at home.
Tips for beginner cream makers are simple: from all the abundance of possible components of the future cream, which we plan to make at home, it is necessary to thoughtfully select only those ingredients that do not cause any manifestations of allergies (from rashes to scabies) and the quality of which does not leave the slightest doubt about their authenticity. This is the most significant advantage of homemade cream.
The main principles of making healing creams with your own hands:
- use only ceramic and glassware, avoiding touching metal;
- stock up on the necessary tools in advance (a whisk for quick whipping, a thermometer for liquids);
- heat ingredients exclusively using a steam bath;
- do not heat the cream to a temperature above 60 degrees;
- for greater convenience in measuring the volume of oils and waxes, they can be crushed into crumbs or shavings;
- Continue whipping the homemade cream until it cools completely;
- be sure to test the resulting cream on the sensitive skin of the wrist;
- the preservation of the cream can only be ensured by the refrigerator and for no longer than one week;
- any essential oils are added to the cream no earlier than it has cooled to a temperature of about 25 degrees (otherwise their smell will be changed and most of the healing properties will be lost);
- Ready-made homemade creams are transferred to sterile glass jars from previously used purchased creams.
Homemade cream base recipe:
- Solid butter, for example cocoa or shi, coconut or mango in the amount of 50 g;
- 20 ml of liquid oils are added to the main oil, having properties different from the main one (this is done so that the effect of the finished cream is more versatile): macadamia or peach kernel, sea buckthorn or amaranth;
- the introduction of 5 g of floral wax (tuberose or jasmine, mimosa or violet) or beeswax makes the cream harder and the skin noticeably silkier.
It will be easy to create nourishing and moisturizing creams at home on this basis: you just need to add special ingredients that will further enrich the composition with their properties.
Moisturizing cream It is preferable to use in the hot summer, when the skin is often dehydrated.
Recipe for moisturizer with badger fat that prevents flaking:
- add 1 tbsp badger fat;
- pour in 2 tbsp St. John's wort oil;
- add 1 tsp rose wax;
- add 3 drops of vitamins A and E.
Moisturizing lecithin cream recipe:
- pour in 6 teaspoons of distilled or boiled water;
- add 2 tsp lecithin;
- add 1 tsp castor oil;
- add 1 tsp glycerin;
- add 3 ml of propolis tincture and 3 ml of aloe juice.
Revitalizes and heals skin that is prone to dryness.
Nourishing face cream at home
Nourishing creams It is better to use in the cold winter, when the skin is mercilessly exposed to the thinning action of winds and frosts.
Recipe for nourishing noble face cream:
- take 200 g of homemade fat sour cream;
- add the squeezed and strained juice of a small lemon;
- pour in 100 ml of cologne (preferably “Triple”);
- add 100 ml of medical alcohol;
- enrich with 3 tablespoons of freshly squeezed cucumber juice;
- grind 2 fresh yolks of domestic chickens (or 4 quail yolks);
- add 1/2 tsp vitamin A;
- put 1 tsp flower honey;
- enrich with 2 drops of jasmine essential oil and 1 drop of sweet orange essential oil.
When using, do not forget about your royal posture and watch how the cream not only improves your facial skin, but gives pride to your gait.
Recipe for night nourishing creamy rowan cream:
- Soften 1 tbsp ghee;
- grind with 1 yolk;
- add 1 tbsp of fresh rowan berries, crushed into pulp;
- add 1 tsp buckwheat honey.
After whisking until completely smooth, you can use it before bed as a mask or as a night cream.
Recipe for nourishing cream with calendula:
- pour dried calendula flowers with sesame or olive oil in a ratio of 1:10 and leave for 10 days;
- in 2 tbsp of strained oil tincture of calendula flowers, add 2 tsp of flower or beeswax and melt in a water bath;
- pour in 1 tbsp corn oil;
- add 1 tsp glycerin.
After prolonged mixing until the composition is homogeneous, it is used to nourish dry skin, especially in cold weather.
Anti-aging creams at home
They are created with the full feeling that a little more and your talent will be comparable to the capabilities of perfumer Patrick Suskind, because our site will enrich your intellectual knowledge with the knowledge of how to prepare a rejuvenating cream at home.
Recipe for anti-aging wrinkle cream with honey and iodine:
- take 1 tbsp castor oil;
- pour in 2 drops of alcohol tincture of iodine;
- add 1 tsp buckwheat honey;
- add 1 tsp of cosmetic Vaseline.
After thorough mixing, you can store it in any dark place.
Recipe for anti-aging wrinkle cream with herbal and flower juice:
- take 1 tbsp of freshly squeezed juice taken in equal proportions of jasmine and rose petals, nettle leaves, currants and parsley;
- heat 1 tablespoon of rice or sesame oil in a water bath;
- add 1 tsp of planed flower or beeswax;
- add 1 tsp vitamin A;
- pour in 1 teaspoon of warm (closer to hot) boiled water.
The whipping process should not be interrupted until the anti-aging cream has completely cooled.
Recipe for stimulating anti-wrinkle cream:
- grind 6 quail yolks (they are healthier than chicken yolks);
- add 1 tbsp linseed oil and continue beating;
- pour in 200 ml of cream;
- add the strained juice of two lemons;
- add 250 ml of boiled water (when it was hot, it was poured over the pulp and peels of two lemons, whose juice we have already used);
- pour in 150 ml of camphor alcohol;
- put 1 tbsp buckwheat honey;
- After shaking, bring the volume to 500 ml with boiled water.
The most pleasant thing about making a stimulating anti-wrinkle cream is that, given its considerable volume, you can make your closest friends happy by sharing with them the opportunity to store the mixture in a cold and dark place and use it, shaking it beforehand.
Recipe for a cream with a lifting effect:
- take 75 ml sesame oil;
- add 25 ml of aloe vera gel;
- add 3 ml of DMAE (dimethylaminoethanol in liquid form), which actively gives the skin elasticity and lightens spots of unwanted pigmentation.
The main component of this cream is DMAE (dimethylaminoethanol), the properties of which provide visually visible lifting.
If we decide that we are making our own eye creams, then we should take into account the thinness of the skin in this area, so we will choose an oil that is easily absorbed.
Eye cream recipe:
- take 2 tbsp sesame oil;
- pour 1 teaspoon of chamomile oil into it;
- add 1 tsp primrose oil;
- mix with 3 drops of rose essential oil.
Shake thoroughly and apply with light pats on your fingertips before going to bed.
Recipe for a gentle cream that helps reduce wrinkles in the eye area:
- Heat 50 ml of apricot oil to a temperature not exceeding 60 degrees;
- pour in 2 tbsp jojoba oil;
- add 1 tsp avocado oil;
- 1 tsp flower wax;
- 50 ml rose water;
- 1/4 tbsp borax;
- 5 drops of rose essential oil.
After uniformly mixing all the ingredients and cooling, apply the cream to the pads of warm fingers and gently distribute in the area of the formed wrinkles and around them.
Cucumber eye gel recipe:
- take 50 ml of strained and still warm calendula decoction (1 tsp of ground calendula per 100 ml of water);
- add 0.5 tbsp starch and heat, stirring continuously, until a jelly-like solution forms;
- pour 2 tablespoons of cucumber juice, squeezed through 5 layers of gauze, into the cooled jelly;
- beat until smooth with 50 ml aloe vera gel.
Tired eyes will look healthy and radiant after using this gel.
Nourishing Lavender Eye Serum Recipe:
- take 60 ml of jojoba oil;
- add 15 ml of avocado oil into it;
- add 15 ml grape seed oil;
- to enhance the healing effect of the cream, add 7 drops of lavender essential oil;
- 4 drops jasmine essential oil.
Use the serum, carefully applying to sensitive skin in the eye area.
The even smoothness of delicate skin is the main concern of modern beauties, which is why anti-cellulite cream created at home is so relevant. Almost every homemade anti-cellulite cream recipe includes coffee, the use of which leads to the rapid breakdown of fat. Sea salt, which can rid the body of excess toxins and sludge, is also often found in the recipe. Extracts of green tea and algae such as spirulina or kelp stimulate a visible reduction in volume. The presence of essential oils in homemade cream not only makes its smell pleasant to the specific person who will use it, but also, due to the synergistic effect with other components, enhances the effect of coffee, salt and algae.
Anti-cellulite oil cream recipe:
- take 30 ml of rosehip seed oil;
- add 10 drops of geranium essential oil;
- enrich with 10 drops of juniper essential oil.
The more regular and deep your self-massage with this homemade cream, the fewer problems and bumpy areas will remain on your beautiful body.
Recipe for anti-cellulite cream with mumiyo:
- Thoroughly crush 5 mummy tablets into a fine powder;
- dilute with 1 teaspoon of slightly warm water until dissolved;
- add 5 drops each of essential oils of juniper and grapefruit;
- pour the resulting mixture into 70 ml of cocoa butter melted in a steam bath and 5 g of rose or beeswax;
- pour in 10 ml of glycerin and 5 ml of green tea extract.
The mass is whipped until plastically homogeneous and then applied in the morning and evening to the skin warmed up in the shower with massaging movements.
Sunscreen recipe:
- take 3 tbsp sesame oil;
- add 1 tbsp cocoa butter;
- add 1 tbsp jojoba oil;
- add 1 tbsp walnut or almond oil;
- pour in 1 teaspoon of soy liquid lecithin;
- add 1 tbsp flower or beeswax;
- add 1 tbsp oil shi;
- add 1 tsp coconut oil;
- pour in 1 tbsp avocado oil;
- add 2 tbsp aloe vera gel;
- add 20 drops of carrot seed oil;
- add 2 tablespoons of lavender or jasmine or rose hydrolanta;
- add 1/2 tsp borax.
If you apply this homemade sunscreen 30 minutes before you plan to go out into the open sun, your skin will remain young and fresh for a long time.
DIY foundation recipe:
- Let's take 7 g of emulsifier (thickener) for our foundation (this can be agar-agar or glycerin, glyceryl or silk guar);
- 4 g sucrose stearate;
- 3 g planta M;
- 4 ml avocado oil;
- 4 ml sesame oil;
- 3 g of hemp;
- 2 g Japanese camellia (sasanqua);
- 3 ml cucumber seed oil;
- 25 ml of calendula decoction;
- 25 ml chamomile decoction;
- 25 ml of St. John's wort decoction;
- 1 g D-Panthenol;
- 1 g fish oil;
- 1 g water tincture of propolis;
- 3 g horsetail extract;
- 1.5 g WILLOWHERBTM (antibacterial);
- 1 g dimethicone;
- 1 g Allantoin powder, which relieves skin irritations;
- 1 g potassium sorbate preservative.
- 2 drops of lime essential oil;
- 2 drops rosemary essential oil;
- 2 drops of myrtle essential oil.
After heating in a water bath and thoroughly mixing the components of the foundation, add 10 g of mineral powder of a suitable shade, and the cream is completely ready.
Flaws homemade creams:
- their shelf life is sharply limited (about only one week);
- the need to develop confident skills in arranging the desired ingredients and whipping them into a non-separating smooth mass;
- lack of gel-like appearance and lightness;
- presence of an oil film after use;
- Pores may become clogged in a shorter period of time and, as a result, facial cleansing may be required more often.
Advantages handmade creams:
- the presence of only environmentally friendly high quality components;
- maximum anti-allergenicity relative to your skin;
- the disadvantage of a short shelf life smoothly turns into a great advantage in the form of constant freshness of the cream;
- low cost;
- the opportunity to make unique gifts, lovingly created with your own hands.
Everyone has the right to choose a store-bought or homemade cream that he likes more; he prefers the simplicity of buying ready-made cream, or he is fascinated by the creative process itself when making a small homemade miracle. In any case, sometimes life gives us no choice and, trying to avoid allergies or possible toxicity, we inevitably choose to make our own homemade cream.
