Facial gymnastics is based on training individual parts of the face that require increased attention. More and more supporters are acquiring facelifts with Galina Dubinina; videos with her methods are in high demand. The biography of the founder herself does not go unnoticed. How old is she? Why did you take up facial practices?
Biography of the author of the technique
Looking at this fragile young woman, it is impossible to think that she could have problems with wrinkles. It is difficult to name the exact year of birth; we only know that his age exceeded 50 years. She was born in Leningrad, from elementary school she was intensely involved in dancing and toured a lot. Having received the profession of chemical technologist, the woman got married and went to her husband’s place of service.
Galina Dubinina begins to teach shaping to residents of a military town; she was drawn to develop in the direction of dance and sports - what she loved so much from childhood. In 1991, she received another education after graduating from the Lesgaft Institute, becoming an aerobics specialist.
After 30 years, every woman faces the first signs of aging, and Dubinina was not spared the changes either. But if someone gives up, taking wrinkles for granted, then this was the impetus for Galina to make her dream of youth come true.
At that time, a book of exercises from Carol Maggio, which Galina studied, was very popular. Having tried all the recommendations, I decided to improve the system, remove most of the negative aspects, leaving the golden grain, and combine it with the recommendations from facial surgeon Reinhold Bentz. As a result, a new Face Forming program was born, which has gained popularity among the fairer sex due to visible results and recognition of its effectiveness by specialists.
School of youth
So, in 2004, the “School of Youth” appeared, founded by Galina Dubinina, which introduces the method to the general public, teaching how to work with the facial muscles. But Galina is one of those who are not used to standing still, her next step is Senior’s - a system of exercises to help with pain in the spine and joints. After all, chronic radiculitis, arthrosis, and pinched nerves greatly interfere with enjoying life, constantly reminding you of yourself with unpleasant sensations.
Benefits of facial gymnastics from Galina Dubinina

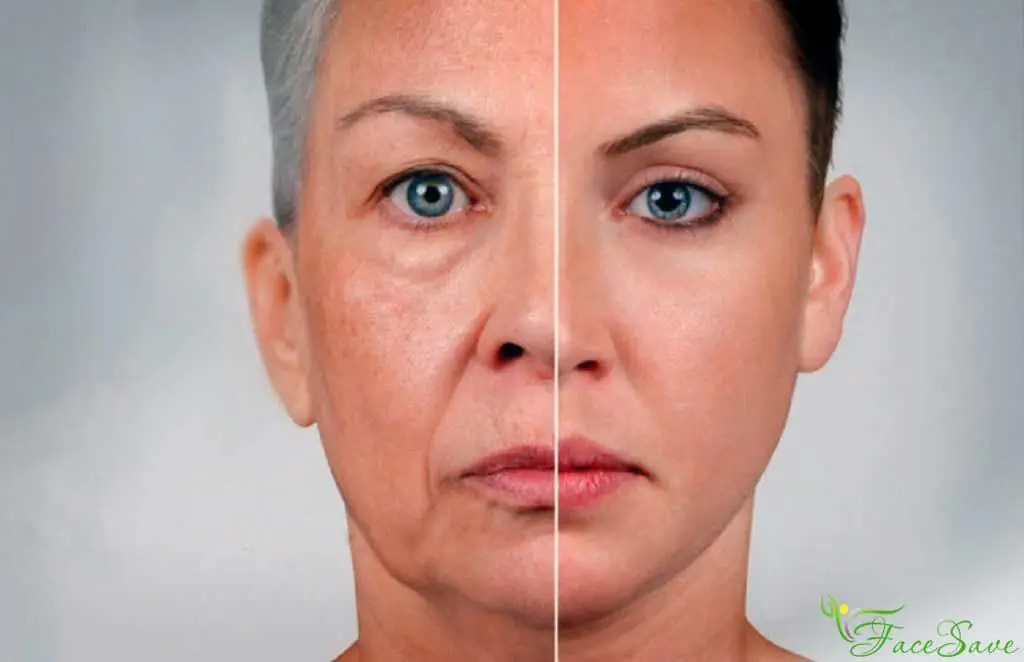
The first wrinkles appear early, however, young women do not pay attention to this. Years go by, after 40 years it turns out that there are not only visible wrinkles on the face, but also the oval “swollen”. Appearance spoils the mood, discouraging the desire to approach the mirror. That’s when an assistant in the fight against time comes to the rescue - face forming. Before starting classes, you should find out what result you can realistically get, why this direction is better than others.
- Classes are completely free, everything is in your hands;
- All exercises are adapted to be performed at home;
- Gymnastics does not injure the skin or stretch it;
- Age differentiation allows for an individual approach;
- Recovery occurs not only in the upper layer, but also in the deeper layers due to improved nutrition.
On our website facesave.ru you can get acquainted with all the most popular authors and their methods of facial exercises.
results
It's time to find out how it “works” and what results should be expected from charging, the so-called facelift from Galina Dubinina:
- Increased tone of facial muscles;
- Oval restoration, face lift, double chin reduction;
- Improving tissue nutrition by increasing blood circulation;
- Unclogging pores, restoring skin smoothness;
- The ability to have a youthful face in 15 minutes. in a day.
When is the best time to start training?
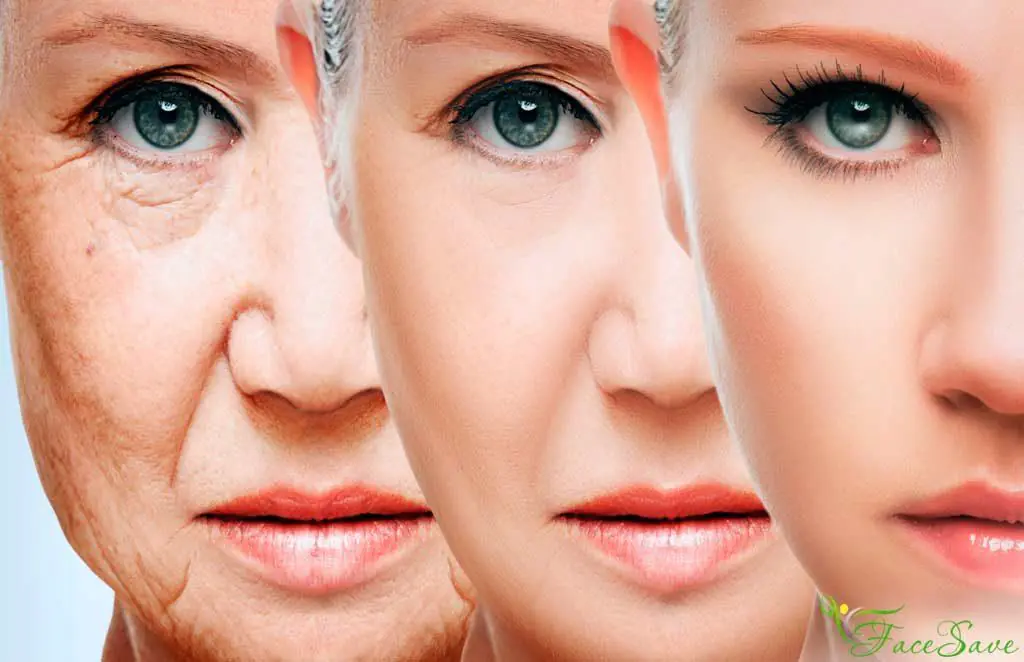
At 20 years old it is not too early to do a set of exercises, just as at 50, having deep wrinkles, it is not too late. Different facial exercises with Galina Dubinina are designed for each age.
- The main task of exercising at 20 years old is to prevent the formation of wrinkles;
- After 30 years, you should act against the first wrinkles;
- For a face after 40 years, it is necessary to include exercises on the oval of the face;
- Gymnastics for the face after 50 maintains the oval, reducing the depth of wrinkles;
- Next, facelift, strengthening the muscle frame, keeps them in good shape.
Contraindications

- Presence of implants;
- Damage to the skin surface;
- Recovery period after peelings;
- Ailments with increased body temperature;
- Problems with the jaw joints;
- Dental diseases.
In all other cases, facial gymnastics from Galina Dubinina has undoubted benefits, allowing you to remain young at any age.
A set of basic exercises for the face for all muscle groups
Before you begin to study and perform the technique, you should read the warning.
Important! You should not start classes if you are not sure that you will do them regularly. You should study the exercise in detail before using it. And most importantly, don't overdo it. This is not a case where more is better.

You should first cleanse your face by removing traces of makeup. The use of creams is not recommended, especially for those with oily skin. During the lesson, you need to monitor your posture and correct technique.
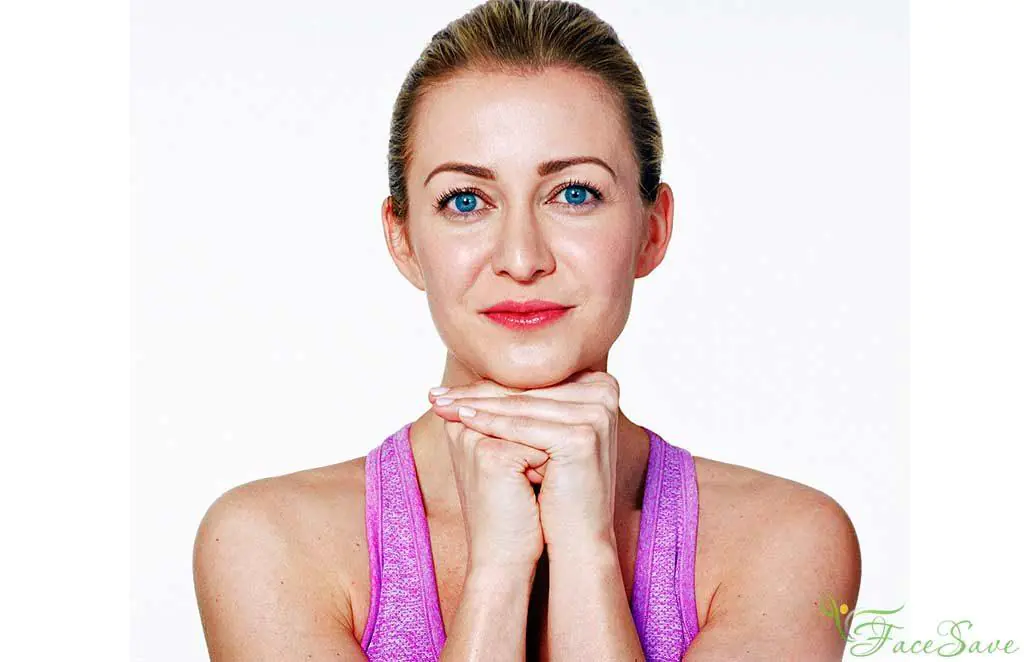
For a beautiful neck:
- Move the lower jaw forward, avoiding discomfort, and hold for a count of 8.
- Draw a circle with your jaw at a slow pace for a count of 8 in both directions.
- The lower lip covers the upper, pressing it, the chin stretches upward. Hold the top position for 8 counts.
Neckline:
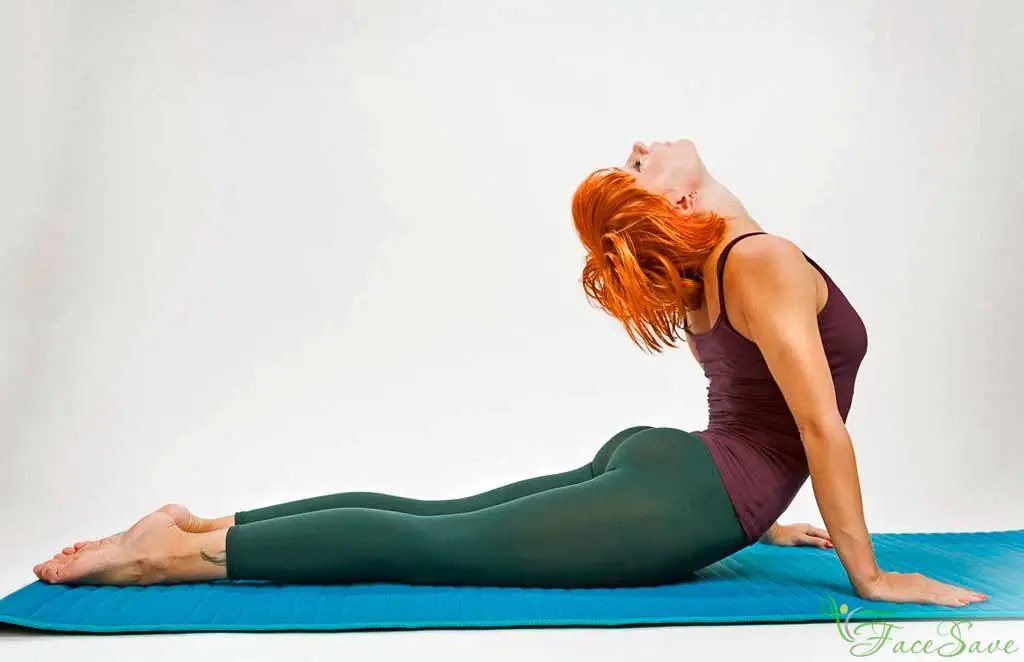
- Lie face down on the floor.
- Slowly raise your head, hold at the highest point for 2 counts and return to your previous position. Repeat 10 times.
- Place your fists on your chin, preferably placing your elbows on the table. When lowering the lower jaw, tension is felt; it is necessary to continue the exercise, overcoming the resistance of the hands. Performed in two approaches to the count of 8.
- Press the entire surface of the tongue onto the upper palate, holding the position for a count of 8, repeat 2 times.
Exercises for the cheeks help the face to be tightened, preventing it from “dripping” down.
- Smile widely, exposing your teeth, and hold for the count of 8.
- The upper lip is held on top with a finger, pressed against the teeth, overcoming resistance, smile, hold for the count of 8.
- The finger is removed, the lip goes behind the teeth. Smile, hold for the count of 8.
Dubinina asks you to pay attention to the exercise for women after 50 years old; it should be performed in the morning and evening.
After 40 years, lips need additional support, because smooth, well-groomed lips are an indicator of youth and health.
- The lips are pulled forward, the upper lip is pulled with great effort. Hold for the count of 8.
- The previous exercise is repeated, but only the upper lip is worked. The lower lip is fixed by applying fingers.
- Pronounce the sound “O” 20 times, while pressing the corners of your mouth with your fingers.
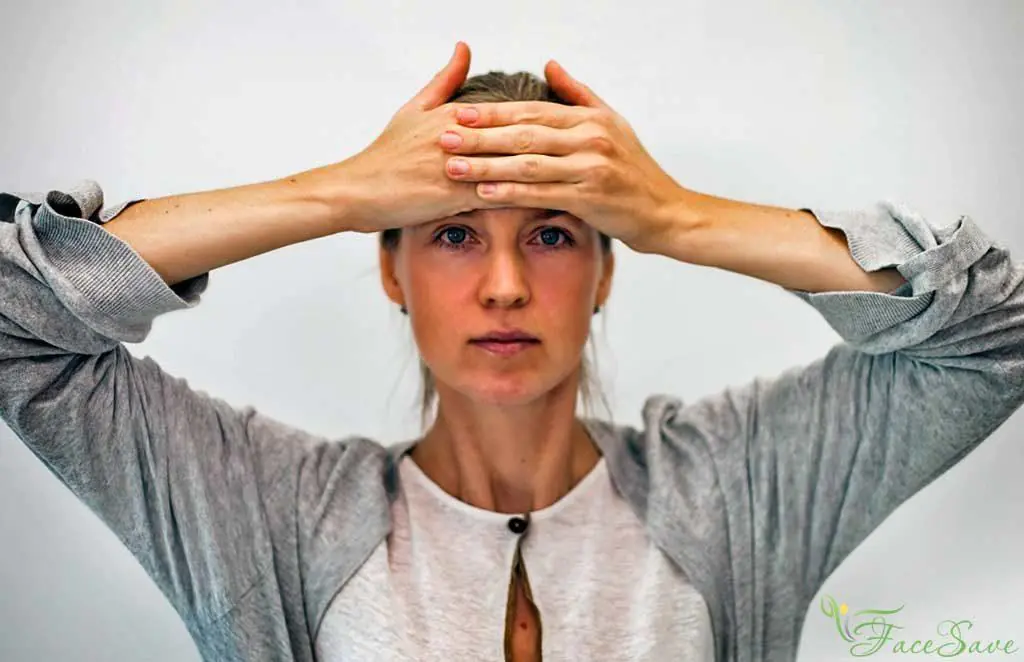
Working with the forehead helps eliminate muscle creases, resulting in a smooth forehead.
- The hand is fixed on the forehead, forcefully pulling it up, the upper lip is pulled down. While doing this, look at the tip of your nose and hold for a count of 8.
- Place your thumbs just above your eyebrows, try to frown, and hold for the count of 8.
- Use your fingers to clasp the brow ridges, squeezing them, and fix the position. Try to raise your eyebrows and hold for a count of 8 at the maximum point.
Working with the lower eyelid:
- Place your fingers on your temples near the corners of your eyes. Try to tighten the lower eyelid.
- At the top point of the lift, hold for a count of 8. The amplitude of the movement is small so as not to cause harm.
Upper eyelid lift:
- Grab your eyebrows with your fingers, squeezing them, and move from the bridge of your nose to your temples. Make a passage in the opposite direction. Repeat 2 more times.
- Place your fingers above your eyebrows and secure. Raise your eyebrows without moving your fingers. Eyes wide open, hold in the upper position for a count of 4.
Additional Information
Face lifting with Galina Dubinina is not only an effective way to maintain youthful skin, but also an alternative to plastic surgery, due to the formation of muscles that create an invisible frame that supports the tissue, preventing it from sagging. A small part of the exercises was presented for review. To study the technique, you can purchase a video with trainings by Galina Dubinina, where you can additionally get a program for performing acupressure, learn the intricacies of muscle structure, for more thorough study.
The school is developing vigorously, training and training specialists who can further introduce women to the methods of performing exercises.
Most women are concerned about the problem of wrinkles in the nasolabial triangle. Galina Dubinina recommends removing nasolabial folds using special gymnastics. These are the exercises:
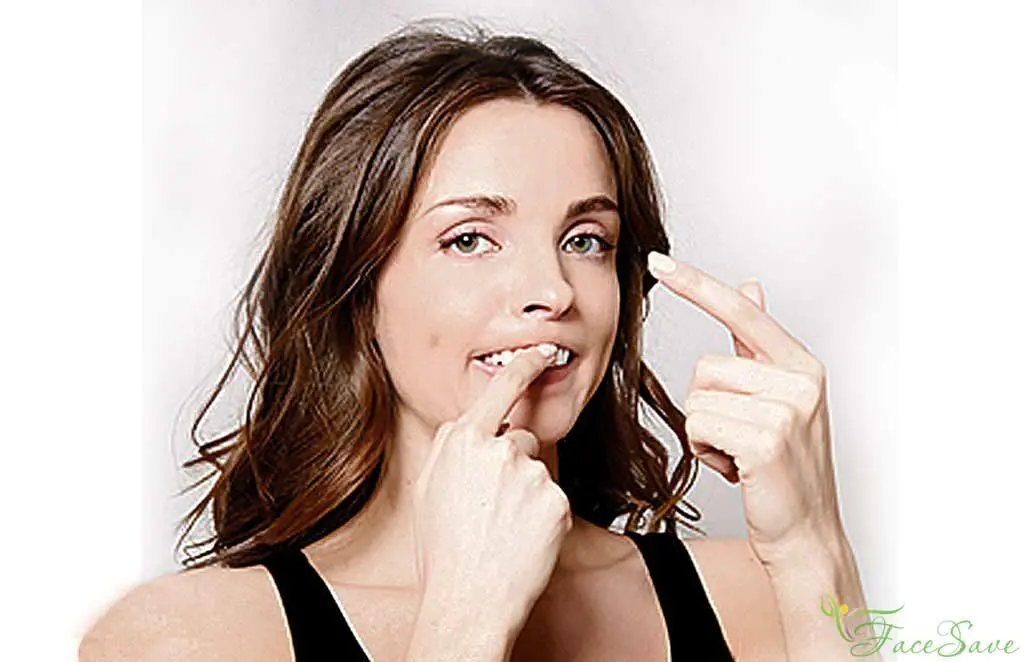
1. Place your thumbs on your teeth and cover them with your lips. The remaining fingers are located from the cheek. Nasolabial folds should be smoothed out. Now press your fingers rhythmically with your upper lip.
2. Place your right finger under the lower left canine. The finger should be under the nasolabial fold, and not on the cheek. Rhythmically press your lower lip with your finger against your lower jaw. Then change hands: left finger under the lower right canine, and repeat the exercise.
3. Close your teeth, place your thumbs on your teeth so that they are located under the nasolabial folds. Press your fingers rhythmically with your cheek, working not with the orbicularis labii muscle, but with the buccal muscle, without forming creases in the nasolabial folds.
These exercises are clearly presented in the video:
Here is another set of exercises for this zone from Galina Dubinina:
1. We form the mouth with the letter “O”, so that there are no folds on the lips. Don't curl your lips inward. Then we relax our lips and repeat the exercise 8 times.
2. Pull your lips forward so that the nasolabial folds are smoothed out. Relax your lips and repeat 8 times.
3. The exercise consists of several stages. First, smile and feel the muscle that lifts your cheek. Having learned to work with this muscle, move on to the second stage. Form your mouth into an "O" shape. Contract the zygomatic muscle, which is the muscle you use to smile.
Watch the video to understand how to perform these exercises correctly:
Hello, today we are removing nasolabial folds, because they are the ones who show sadness, melancholy on our faces, and sometimes just tragedy. The exercises that will be presented are very effective and simple. It is recommended to perform this gymnastics every day.
We will need a mirror, we will need clean hands, so prepare either wet wipes or some other sanitization for our hands. Well, of course, this is a good mood, and everything will work out for us!
Exercises for nasolabial folds by Galina Dubinina
First, look at our face in the mirror very carefully. What would we like to fix? We looked at ourselves carefully. I’ll tell you that one of the first signs of age, that is, the first age-related change, is precisely the sagging of our cheeks. We develop nasolabial folds. Starting at the age of 25, imperceptibly, barely perceptibly, our cheeks begin to droop, and this is where creases begin to appear.
Gradually, the face sags, and then some even develop jowls or, as they are also called, “bulldog cheeks.” This is really a vicious circle: we look at ourselves in the mirror, we don’t like ourselves, we’re in a bad mood, but this doesn’t make our cheeks rise, but just the opposite.
We all know what a person consists of - the skeleton, muscles and skin. And now we will talk about all these components separately, only everything will concern our face.
Scull
Let's start with the skull, with the bone tissue. We know that our skull remains practically unchanged. We will talk to you about the smallest changes, but a little later, but now let’s go a little into the muscles, figure out what it is, what they consist of, and how they work.
Muscles
The muscle tissue from which muscles are built consists of fibers elongated in length and capable of contraction, that is, we understand that the work of a muscle (any muscle) is its contraction. This means that the muscle contracts, which means it works. This is the main function of the fabric.
The muscles of the head are divided into 2 main groups - facial and chewing. How are they different from each other? Let's figure it out.
Chewable
Chewing muscles, like all skeletal muscles, contract and move bones. The muscle contracts, the head turns, the leg rises. That is, they are attached directly to the bones.
Mimic
But mimic ones differ in that they are attached with one end to the bone edge, and the other - into the soft tissue. Let's think about it together. This means that one end is attached rigidly, and the other softly. And what happens if we have a muscle contraction? Yes, wrinkles form.
Now let’s look at the picture and think a little together again. We understand that the contraction of the facial muscles causes the skin to shift, the formation of folds and the rapid change of wrinkles in various combinations.
The facial muscles are relatively thin, they do not have fasta, and are located directly under the skin in a layer of fatty tissue. Their strength is insignificant compared to other skeletal muscles and the muscles on our skull are distributed unevenly, they are located in groups around natural openings: the mouth, nose, ear, and determine the shape and movement of the lips, nostrils and eyelids.
Being subordinate to nerve impulses coming from the brain along the facial nerve, they are exponents of a wide variety of human emotional states. And you and I know that everyone’s emotions and contractions of facial muscles are so different that they cause different folds on our face. But, gradually we develop the habitual formation of wrinkles on our face. We now understand that the formation of facial folds is the work of our muscles, their contraction.
But let's now put a mirror in front of us and look carefully at ourselves. Here a nasolabial fold has formed. We have already talked to you - this is the cheek slowly lowering. How can you and I correct this situation? Let's think about it. The cheek needs to be raised somehow. Look at yourself in the mirror. Where will we lift the cheek so that the nasolabial fold is corrected so that it goes away? You can experiment on one side or the other. You see, just a small movement. Look at yourself.
Now let's figure it out. If we know what a muscle consists of and how it works, let’s think together, why did the cheek droop? What muscles are there that can lift our cheek?
Now look carefully at the picture again. Look carefully! Here is the zygomatic muscle. It is rigidly attached from the zygomatic arch and stretches to the corner of our mouth. Do you remember where it is located?
Now look at yourself in the mirror. The location of the muscle from the cheekbone to the corner of the mouth. Do you remember the picture? Now we will place our finger on the location of this muscle. Place it without lifting anything, just place your finger.
Look at yourself in the mirror, see where your cheek is. She rose up, and the oval of her face below became perfect. Due to the fact that this muscle does not work well, our cheeks droop.
This means that you and I must understand that this muscle holds our cheek. Shall we learn to work with it? And it’s very easy to work with! We need to smile more often with you. Let's smile quietly together now, slowly. Just smile, smile, raising the corners of your lips to the top of your ear. Look at yourself carefully in the mirror. Smile a little.
We are now starting to work like in school, without rushing. First we draw small sticks, then small squiggles, and then we connect everything. Now we are smiling at the corners of our lips, take your time. Smile, don't get upset just yet if you develop wrinkles under your eyes and if your nasolabial folds deepen. We'll fix it all!
Now the first task is to find the zygomatic muscle. It is not very strong and if you are over 40 or 50 years old, you may not succeed the first time. But we are looking. We smile at the corners of our lips. To make sure there are fewer folds under the eyes, we won’t show the upper teeth, we’ll put a finger on them.
Rest. Did you see? Do the corners of your lips turn up? There is one mistake: some people smile while raising their sponge all the way up. And then you realize that the zygomatic muscle is not being worked. If someone wants, bite the upper lip directly, but if you want, just leave it again clamped with your finger. And now, if you see that the corners of your lips are rising, then let's add a little effort.
Our first task is to find the zygomatic muscle. If you feel the work of this muscle, we are complicating everything a little.
Faces can be funny! They can be very funny, but now you should not look at how you look, but feel how your muscle works.
Let's try to close our eyes altogether. We close our eyes and smile, we understand how you do it. Take your time! Corners of lips up. Pause, leave the corners of your lips up. And now we know the muscle has contracted, so we shorten it even more.
If the folds around the eyes scare you, you can hold them in place with your fingers. Place your fingers in advance and hold. You can keep your finger on your lip, and smile again, raising the corner of your lip upward. Now you should feel how you are doing.
Do you feel the muscle working? Now we’ve worked, the muscle is resting, we feel the flow of blood into our muscles, right? The muscle worked. Yes, such a difficult exercise!
When you get used to it and feel the muscles, we will complicate the exercise. In the end it should look like this:
So, the shape of the mouth is the letter “o”. This means our lips are together, and they really don’t want to be separated from each other. We stretch them to the side, look, and remain in this position. We can already see what is happening: the nasolabial fold is already smoothing out. You see?
And now we will also train the zygomaticus. When the mouth extends, there is muscle movement! I feel her very well and our cheeks rise. By the way, one of the signs of youth is plump cheeks, apple cheeks, therefore, when the maximum volume of the cheek is in the upper third of our cheek (upper third) - this is youth, in the middle part - this is middle age, but when they go down, well, we won’t have this, so we won’t even talk about it. But if something has already happened, it is with these exercises that we can lift our cheeks. The volume is at the top, and the entire cheek is tightened.
By contracting, the zygomatic muscle lifts our cheeks, holding them in place. Just imagine, if we put on trousers with you, they are too big for us - we pull them up with a belt, we hold them in place. And it's the same here. The muscle did not work, and it was weak, it was stretched, and if it tightens, it will hold our cheeks.
To prevent expression lines from forming during exercise, there are 2 options for keeping them:
We place our ring finger on the wings of the nose, and the index finger in our eye section. And if you can't hold the sponge, put it on your upper lip. And now let's smile. We smile a lot, and you see: no wrinkles form, we were able to hold everything, and our cheeks rise. And now together. The ring finger is the wing of the nose, the index finger is the section of the eye and the little finger (on the lip). Ready? We work: 8-7-6-5-4-3-2 and quickly 1-2-3-4-5-6-7-8, 8-7-6-5-4-3-2-1, more times 8-7-6-5-4-3-2 and quickly 1-2-3-4-5-6-7-8, 8-7-6-5-4-3-2.
You feel? Tired? Many people say they felt a burning sensation. This is good! This means your muscle was working. This means any sensation: maybe tingling, maybe heat, maybe like menthol or like electric current. You and I understand that this is precisely the work of muscles.
Next, we again turn to the drawing. Let's look at him carefully. What do we see? We have one muscle parallel to the other: we have the zygomatic major muscle, and we have the zygomatic minor muscle. We dealt with the zygomatic major, but there is another one that is parallel to it - this is the zygomatic minor. It is located just under the nasolabial fold. And look, if you and I pull our lips forward, our creases smooth out.
Lips forward a little, as if you and I were blowing a kiss: forward, but not too much. Place your finger in front of you, try: lip forward - relax, forward - relax.
There should be no folds on the lip. This is a very bad mistake! Please correct yourself! We don't need any extra folds! The tension should be under the nasolabial fold. Look at yourself in the mirror and do 8 counts.
And one more tip: you can do the same with your eyes closed. We push it forward, I don’t strain it, I don’t collect it or wrinkle my lip. This is just practice, there can be nothing else! Let's practice: try an air kiss - stretch your lips, and then half an air kiss - forward. If there are any folds, those that you don’t like, remember – we have fingers. If you don’t like something at the bottom, you put it at the bottom; if you don’t like it at the top, you put it at the top, and we continue to pull it out.
Everything is in your senses, you feel the development of muscle tissue, it strengthens, your cheeks rise, nasolabial folds smooth out. Yes, this exercise is difficult. You can do it all the time, train. This exercise can be done constantly, daily.
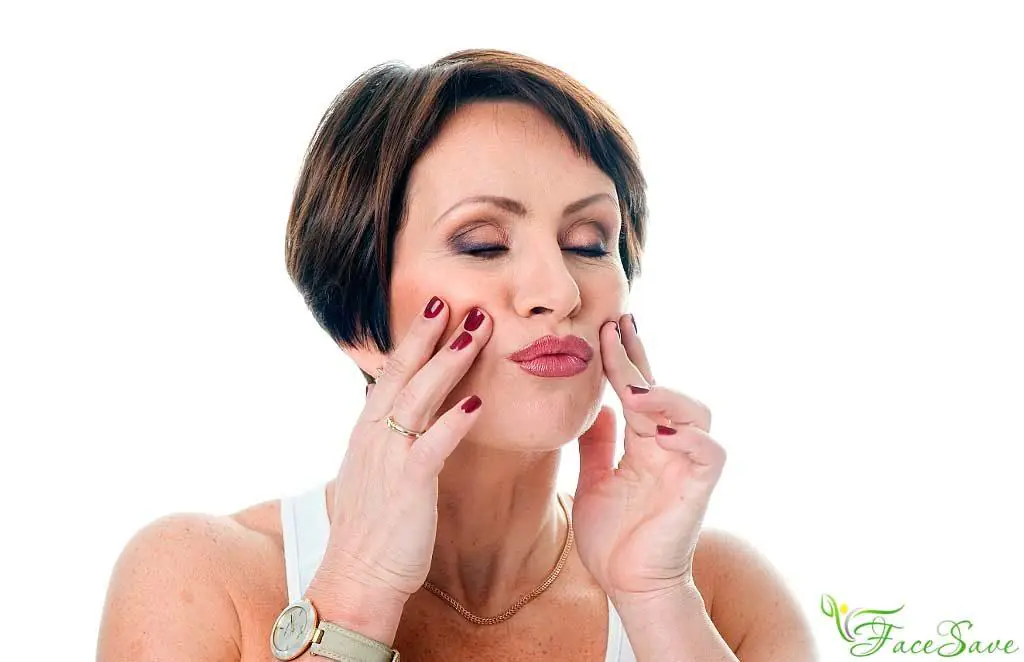
Okay, now we need our clean hands. And now let's just smooth it out together, look, everything is very simple. You and I will now place our thumbs under the nasolabial fold. If we have wrinkled clothes, we take them and iron them, right? And the same thing happens here. This constantly forming fold of ours is becoming deeper, deeper and deeper. And there we first have a crease in the muscle tissue, and then a crease forms on the skin. That is, in order to smooth it out, it is necessary to smooth out the muscle tissue, because the skin is just like our knitted clothing, it simply follows our muscles.
So, we place our fingers under the nasolabial folds, carefully, look at me. Mouth in an “o” shape, fingers under the nasolabial folds, try it. This means the bases of the palms are together. There should be no folds under the eyes. If you raise your fingers high, you will develop creases under your eyes.
Now for each count, it’s as if we were saying the letter “o”.
If you want, you can do it with sound: 1-2-3-4, another 5-6-7-8 and hold. Hold the letter “o”, hold it as long as you can. And again in dynamics: 8-7-6-5-4-3-2, hold and press from above, now we will smooth out this nasolabial fold.
We smooth it with point movements, you can use the phalanges of your fingers, you can press it from above. Your nasolabial fold may initially be a different color, like the adjacent layers of skin: it may be red, it may be white. We understand that this is already a change in color, due to a change in our inner layers, our muscle tissue, so we do not allow a fold to form.
We have learned to smooth out the nasolabial fold, that is, each time it will change color all the time, and then it will be exactly the same color as our facial skin in our neighboring sections.
We have another secret - this is the muscle that lifts the wing of the nose. Look at the picture, see where it goes: from our nose bridge and weaves into the wing of the nose. When it contracts, what does it do? Raises the wing of our nose. And at the same time, an overhang is formed, which gradually becomes overgrown with layers of fat; we must smooth out this hard roller with our exercises.
Now we understand that all the muscles of the body, as well as the muscles of the face, need to not only be pumped up, but also stretched. We know there are always strength exercises and stretching. Now we will work on the muscle that we need to increase in length, we will stretch it and not allow it to shorten.
And again the lips are in the shape of the letter “o”. Pull the top lip upward firmly, as if you were trying to close your teeth. Happened? Feel the stretch of the muscle that raises the wing of the nose, and in dynamics we will make the sponge even lower, we will lower it down. We work: 8-7-6-5-4-3-2 and freeze, feel this stretch, close your eyes, feel this muscle. Here thoughts-images will also help you, yes, we feel how our muscle is stretched, and again in dynamics: we pull down, the upper lip wants to touch the lower 6-5-4-3-2.
Now let's combine and consolidate all the exercises for nasolabial folds. Today we understood why the nasolabial fold is formed: the cheek droops and there is an overhang.
- We must first train the zygomatic muscle. The upper lip, remember, is behind the teeth, you can hold it with your finger and smile: 8-7-6-5-4-3-2 and quickly shorten it. Repeat 8 times. Pull the corner of the lip towards the top of the ear, again quickly for 8 counts. Great!
- The next exercise is the zygomatic minor muscle, it is located a little higher, remember: lip forward, stretch and push forward like a duck. For 8 counts. If it doesn’t work right away or folds appear above the upper lip, do it half-heartedly. And we work again: 8 times slowly and 8 times quickly.
- Fingers up, mouth shape like the letter “o”, upper lip pressed tightly: count to 8 and smooth it out. Once again in dynamics. We froze and smoothed it out with our fingers again. For those who have a deep seat, knead it properly. For those who don’t have a deep mouth, you can simply make your mouth into an “o” shape, and everything will be fine.
- And the muscle that lifts the ala nasi. We close our eyes, pull the upper lip towards the lower lip, feel its extension. Down even further, count to 8 and relax.
It is better to finish the exercises with a bioenergetic massage.
Bioenergy facial massage is a very effective rejuvenation practice. The results are very impressive. We recommend finishing all exercises with this massage.
Let's put our hands in front of us, as in prayer, and feel how one hand penetrates the other. Close your eyes and feel the penetration: how the skin of your right hand flows into your left, then the muscles connect with each other. We feel warmth from one hand, the other is our energy. You should feel the distance between your palms disappear. We understand that we have electricity. Someone has been given the ability to heal themselves and others with this energy field, and now we, with our magical hands, with our magical warmth, will lift our face up. We will now oppose the force of gravity with our hands.
We felt how they penetrated, now, slowly, we separate our palms from below and place them near the face, without touching the face. And again your sensations, feel how the warmth of your hands penetrates your face. And now, slowly, raise your hands up: hands up to the forehead, and from the forehead we spread them to the sides, and down.
Let's try again. If we can’t immediately feel the warmth in our hands, we can simply rub them. We rub our hands, and who can do all this in the previous way.
We place our hands in front of our faces, raise our hands up, slowly, and feel how a wave of warmth lifts our muscles along with our hands. This is a very comfortable exercise, feel it for yourself, repeat it again: either we find an energy field, or in our hands, or we rub our hands, put our hands in front of our faces and understand that all our lives we have been protecting ourselves from the cold, from sidelong glances, from rain, Yes?
We open only to warmth, and now our face, our muscles, all our facial cells are drawn after your warmth of your hands. We can sculpt a face with our own hands.
And for those who do not believe that this is very comfortable and useful, we will ask you to do the following experiment.
Experiment
Everything is the same: we rub our hands, place them in front of our face, and now one hand is up and the other is down, and all attention is paid to your sensations. One is up, the other is down, take your time. Look quickly in the mirror. That hand that went down, do you see? She pulled the corner of her lip, the corner of her eye. Let's fix everything soon! We rub everything again. We place our hands and lift everything up, taking our time. Take your time, we go up slowly.
Feel how your face lifts, becomes younger, feels warm inside, you are beautiful and full of energy!
So, our lesson comes to an end. There we learned how to remove nasolabial folds and how to erase several years from our face, because we know that a woman is only as old as she looks.
